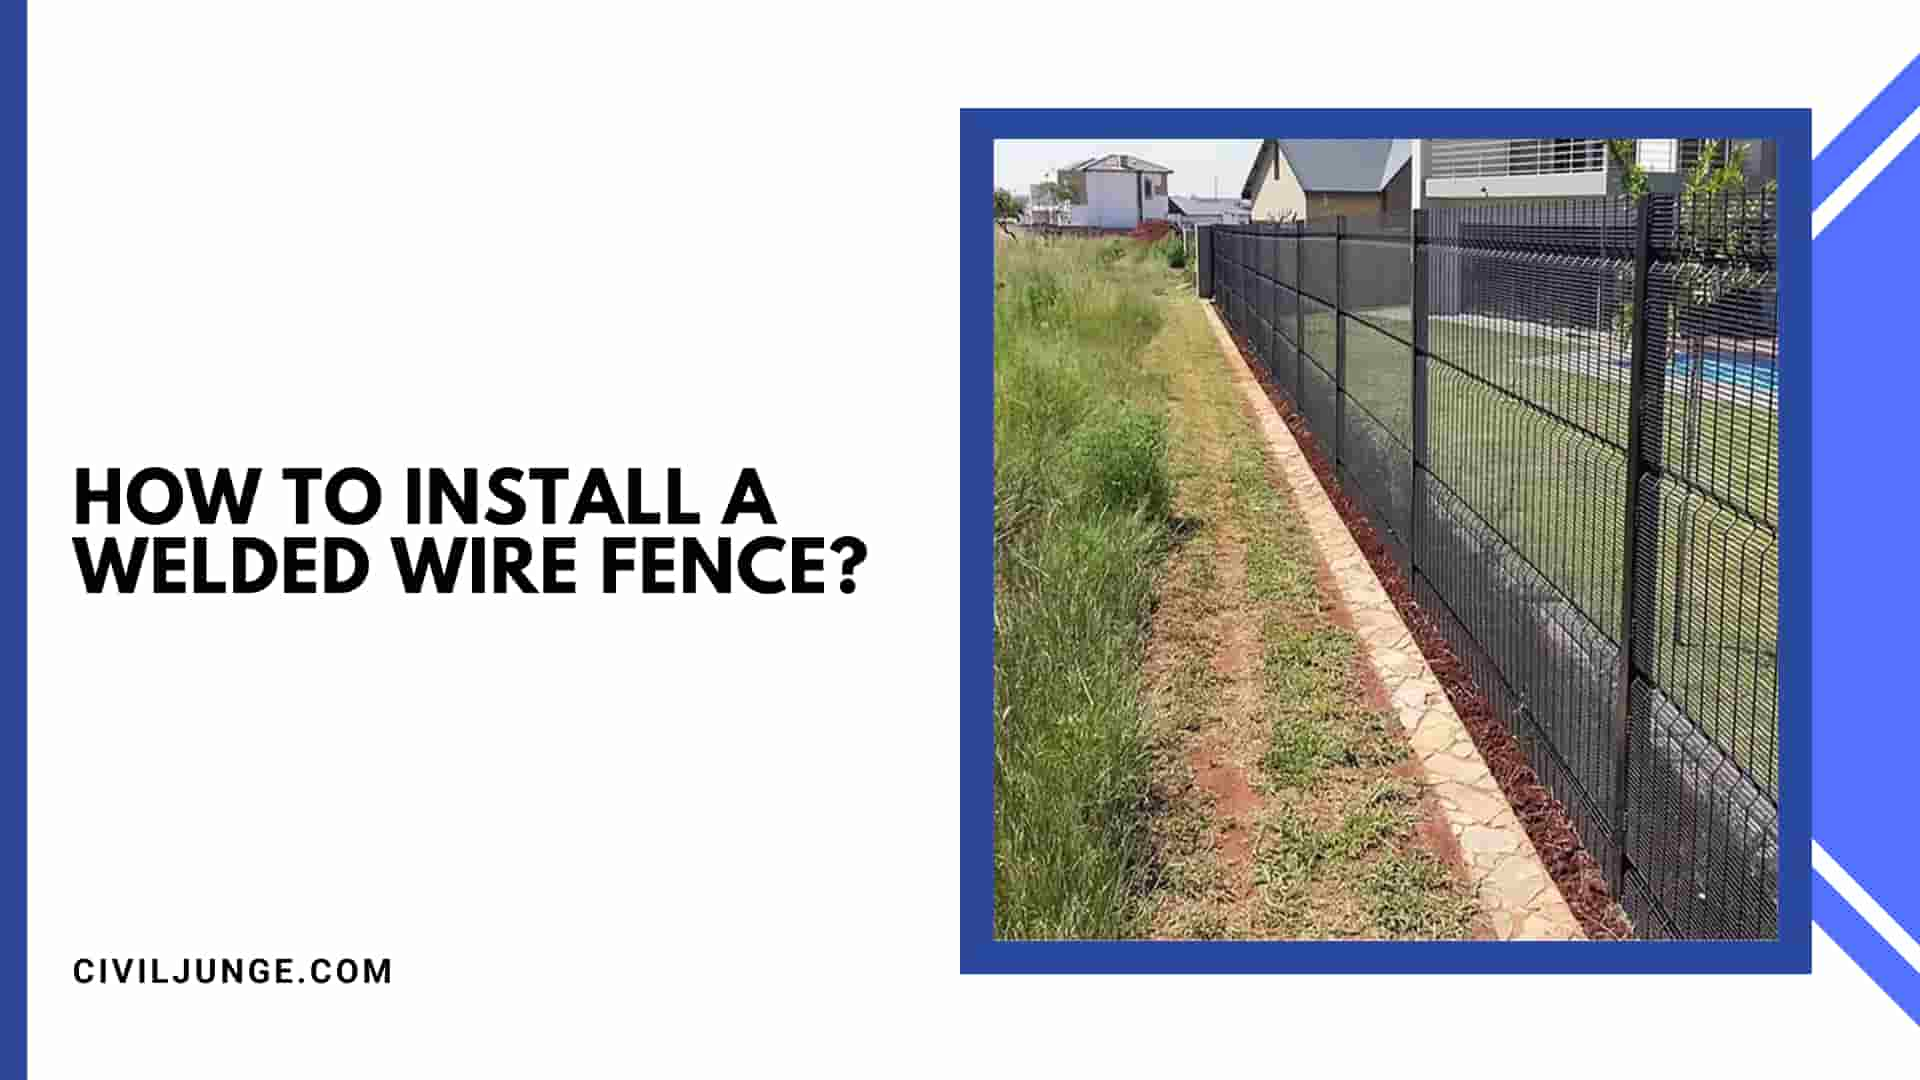
How To Install A Welded Wire Fence?
A welded wire fence is an effective and economical way to secure your property.
It is durable, easy to install, and can be used for a variety of purposes, from keeping animals in or out, to creating a garden fence or a privacy fence.
In this article, we will guide you through the steps on how to install a welded wire fence.
Materials Needed:
- Welded wire fence panels
- Fence posts (metal or wooden)
- Post hole digger
- Concrete (if using metal posts)
- Tamping tool
- Level
- Wire cutters
- Fence staples or ties
- Gate hardware (if installing a gate)
Step 1: Plan Your Fence
- Before you start the installation process, you need to plan out your fence.
- Determine the length and height of your fence, as well as the number of fence posts you will need.
- Also, consider the purpose of your fence and choose the appropriate welded wire fence panels.
Step 2: Purchase Materials
- Once you have a plan in place, purchase the materials you will need.
- You can purchase welded wire fence panels at a local hardware store or online.
- If you are using metal fence posts, you will also need concrete.
Step 3: Mark the Fence Line
- Use stakes and string to mark the fence line.
- Measure the length of your fence and mark the location of each fence post.
- It is important to make sure the fence line is straight and level.
Step 4: Dig Fence Post Holes
- Using a post hole digger, dig a hole for each fence post.
- The depth of the hole should be one-third the length of the post.
- For example, if your fence post is 6 feet long, the hole should be 2 feet deep.
Step 5: Set the Fence Posts
- If you are using metal fence posts, place the post in the hole and fill the hole with concrete.
- Use a tamping tool to compact the concrete and ensure that the post is level.
- If you are using wooden fence posts, simply place the post in the hole and fill the hole with dirt.
Step 6: Install the Fence Panels
- Once the fence posts are set, it is time to install the fence panels.
- Start at one end of the fence and attach the panel to the first post using fence staples or ties.
- Make sure the panel is level and straight.
- Attach the panel to the second post, making sure it is level and straight.
- Continue this process until all fence panels are installed.
Step 7: Install the Gate
- If you are installing a gate, follow the manufacturer’s instructions to install the gate hardware.
- Make sure the gate is level and swings freely.
Step 8: Finish the Fence
- Trim any excess wire from the top of the fence panels using wire cutters.
- Use fence staples or ties to secure the panels to the fence posts.
- Make sure the fence is level and straight.
Step 9: Maintain Your Fence
- To ensure the longevity of your welded wire fence, it is important to maintain it.
- Regularly inspect the fence for damage or wear and tear.
- Replace any damaged panels or posts.
- Also, keep the fence clean and free of debris.
Useful Article for You
- How Much Does a Yard of Concrete Weigh
- How Tall Is a Door
- How Many Stairs in a Flight
- How Many Bags of Concrete in a Yard
- How to Get Burnt Smell Out of Microwave
- How Far Apart Should Fence Posts Be
- How Are Bridges Built Over Water
- How Many People Died Building the Great Wall of China
- How to Draw House
- How to Build a Lean to Roof
- How Many Bags of Concrete for 1 Yard
- How Much Does Cinder Block Cost
- How to Get a House for Free
- How Much Does It Cost to Soundproof a Room
- How to Read a Measuring Tape in Meters
- How to Mount a TV on a Brick Wall
- How Many Brick Are in a Cube
- How Is Transported Soil Different from Residual Soil
- How to Use Washers
- How to Get Property for Free
- How Is Tar Made
- How Much Does Gallon of Water Weight?
- How Many Tiles Do I Need?
- How Much Does It Cost to Build a Pergola?
- How Much Does a Concrete Slab Cost?
- How Much Does a Yard of Gravel Weigh?
- How Many Shingles Do I Need for a 24×24 Garage?
- How to Remove Paint from Concrete Without Chemicals
- How to Cover Concrete Walls in Basement
- How to Find Wall load
- How to Build a Cavity Wall
- How Much Does a Heated Driveway Cost
- How Much Spray Foam Do I Need
- How to Get Blood Out of Carpet
- How to Mix Concrete
- How to Find the Contour Interval
- How to Identify Zero Force Members
How To Install A Welded Wire Fence correctly?
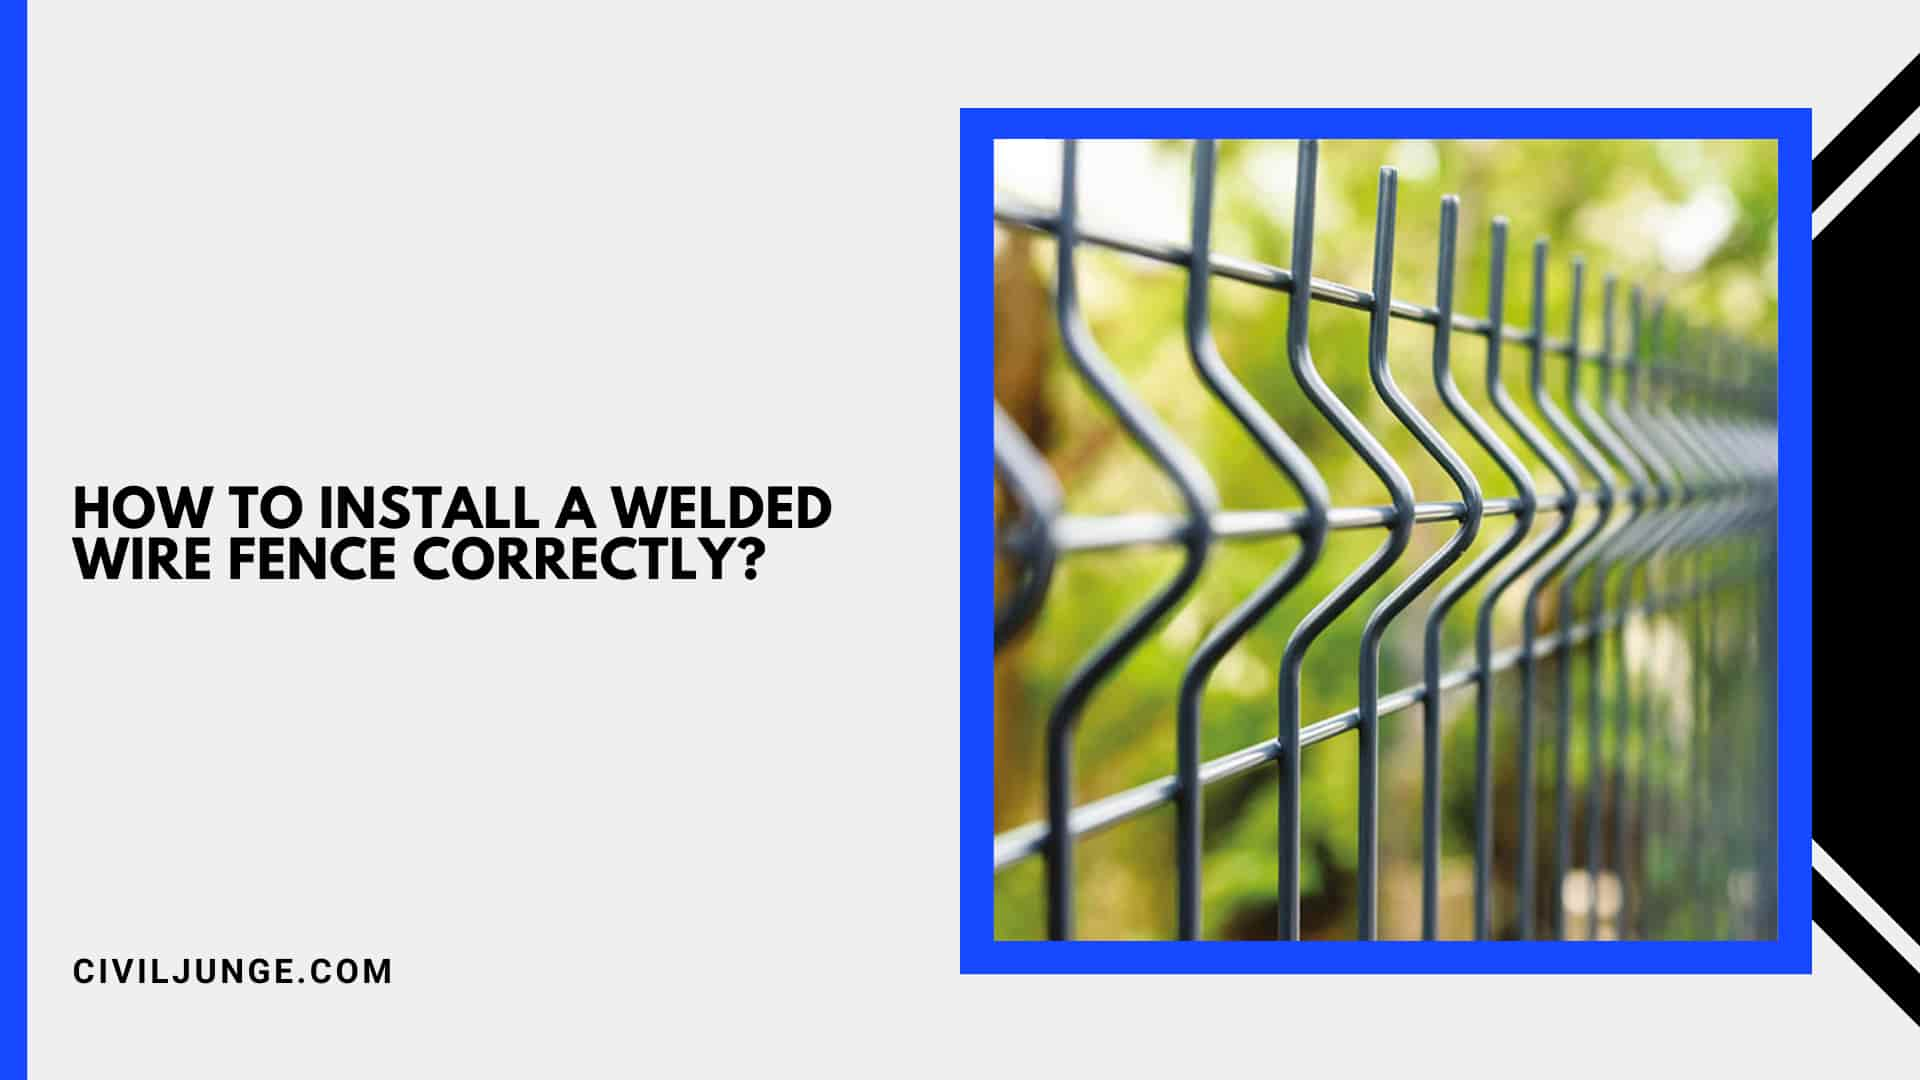
A welded wire fence is a popular choice for homeowners looking for a durable and cost-effective fencing option.
It is easy to install and can be used for a variety of purposes, including keeping pets and livestock contained, creating a garden or vegetable patch, and providing privacy.
If you are considering installing a welded wire fence, follow these steps to ensure it is installed correctly.
Step 1: Determine Fence Length and Height
- The first step in installing a welded wire fence is to determine the length and height of the fence.
- Measure the area where you want to install the fence and mark the corners with stakes.
- This will give you an idea of how much fencing material you will need.
Step 2: Choose Fence Panels
- Choose the appropriate welded wire fence panels for your project.
- They come in different sizes and wire gauges, so choose the one that best fits your needs.
- If you are using the fence for livestock or pets, choose a heavy-duty panel that is strong enough to withstand their weight and pressure.
Step 3: Choose Fence Posts
- Choose the appropriate fence posts for your project.
- Metal posts are more durable but can be more expensive, while wooden posts are less expensive but not as durable.
- Choose the material that best fits your budget and project requirements.
Step 4: Dig Post Holes
- Using a post hole digger, dig holes for the fence posts.
- The holes should be deep enough to accommodate one-third of the post’s length.
- For example, if your posts are 6 feet long, the holes should be 2 feet deep.
- Make sure the holes are straight and level.
Step 5: Set Fence Posts
- Set the fence posts in the holes. If you are using metal posts, pour concrete into the hole around the post to secure it.
- Use a tamping tool to pack the concrete around the post and ensure it is level.
- If you are using wooden posts, fill the hole with dirt and pack it tightly around the post.
Step 6: Install Fence Panels
- Start installing the fence panels at one end of the fence line.
- Attach the panel to the first post using fence staples or ties.
- Make sure the panel is level and straight.
- Attach the panel to the second post, making sure it is level and straight.
- Continue attaching panels until you reach the end of the fence line.
Step 7: Trim Excess Wire
- After all the fence panels are installed, use wire cutters to trim any excess wire from the top of the fence panels.
- This will give the fence a clean, finished look.
Step 8: Secure Fence Panels
- Using fence staples or ties, secure the fence panels to the fence posts.
- Make sure the panels are level and straight.
- This will ensure that the fence is secure and will not sag or warp over time.
Step 9: Install Gate
- If you are installing a gate, follow the manufacturer’s instructions to install the gate hardware.
- Make sure the gate is level and swings freely.
Step 10: Maintenance
- To ensure the longevity of your welded wire fence, it is important to maintain it.
- Regularly inspect the fence for damage or wear and tear.
- Replace any damaged panels or posts.
- Also, keep the fence clean and free of debris.
In conclusion, installing a welded wire fence is a simple and straightforward process that can be completed in a few hours. By following these steps, you can install a durable and effective fence that will last for years to come. Remember to choose the right materials, plan the fence line.
Useful Article for You
- How Wide Is a Queen Bed
- What Is Precipitation
- Pony Wall
- Kinematic Viscosity;
- Hydraulic Cement
- Tongue and Groove Ceiling
- Isometric Drawing
- Closet Door
- Beam Bridge
- What Is a Soffit
- Pier and Beam Foundation
- Traversing
- Weep Holes
- Efflorescence Definition
- Shear Walls
- Wood Beams
- Drilling into Concrete
- Wall Putty
- Trusses Vs Rafters
- Types of Doors
- Refractory Cement
- Well Point
- House Foundation
- Cost to Pump Septic Tank
- How to Get Paint Off Concrete
- Concrete Weight Calculator
- Parts of a Door Frame
- Budget Sunroom Ideas
Precautions to Follow While Installing a Welded Wire Fence
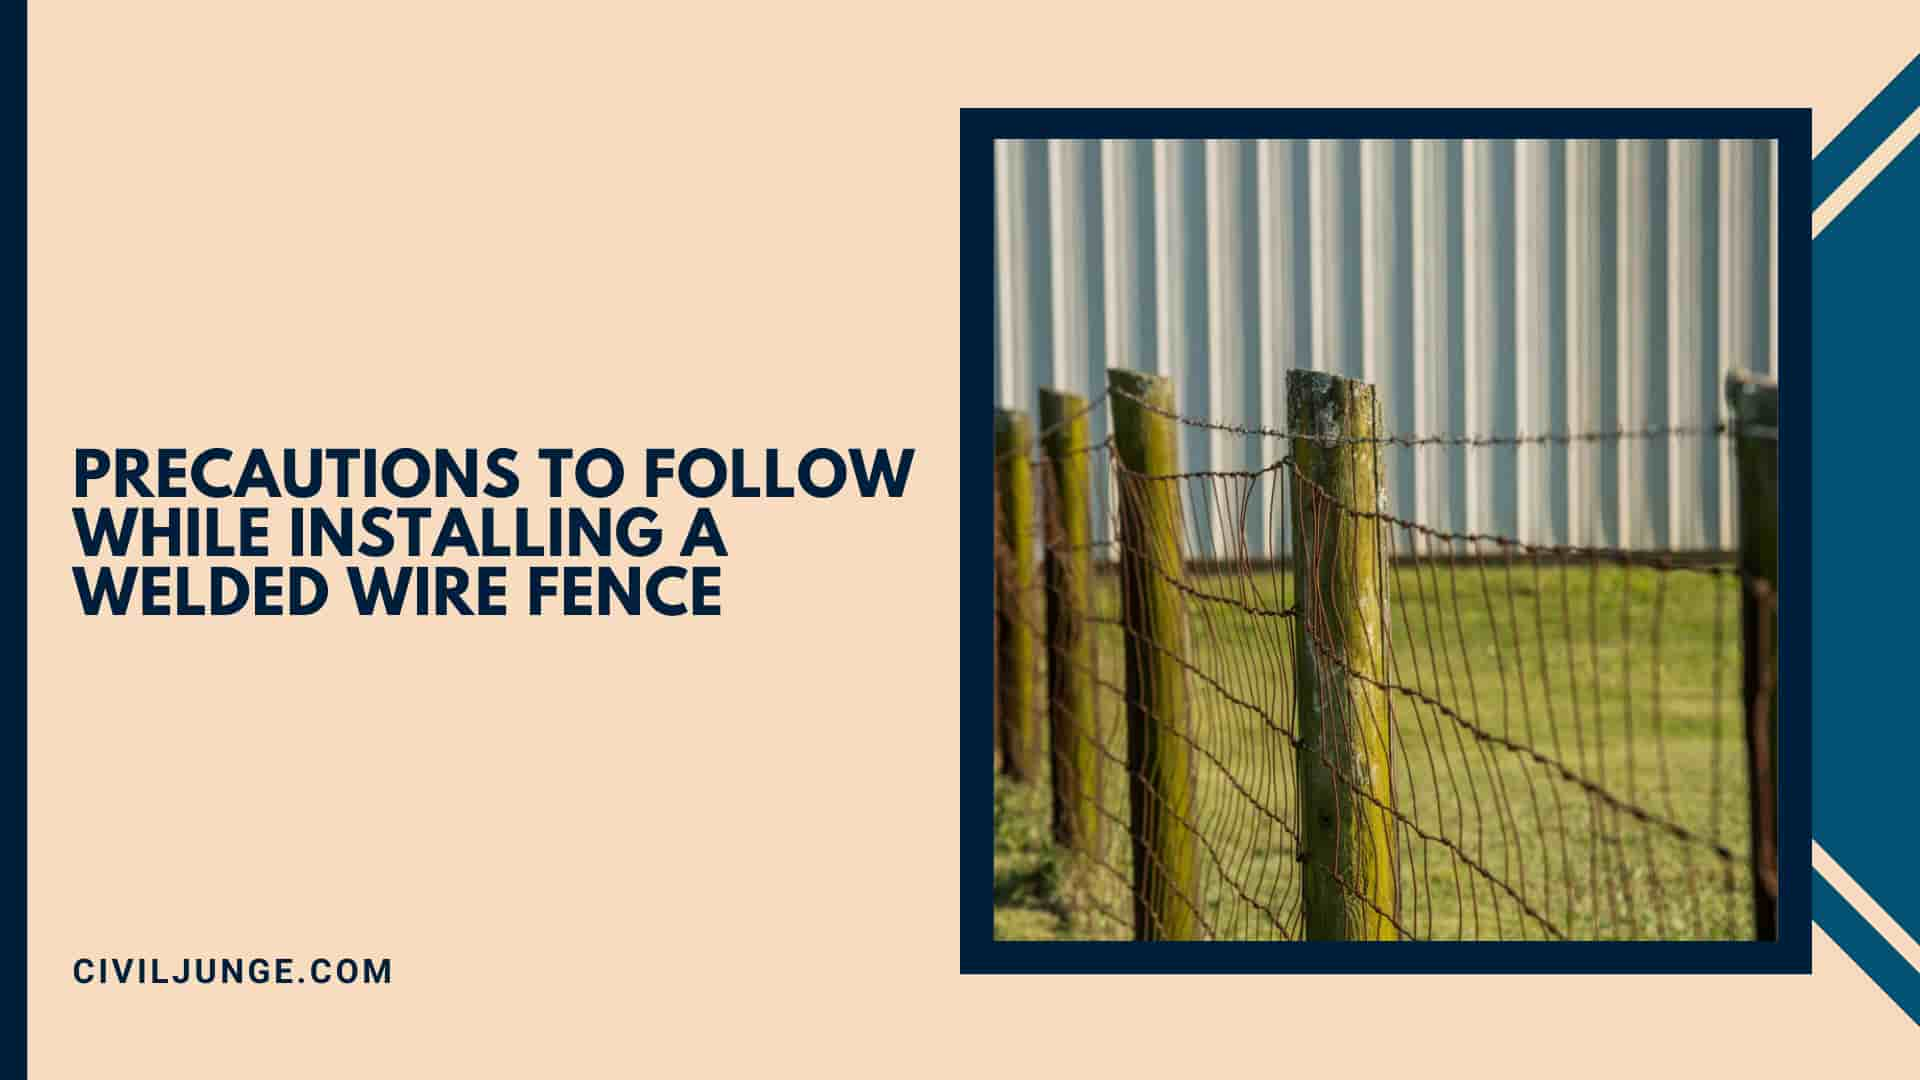
While installing a welded wire fence, it is important to take precautions to ensure the safety of yourself and others involved in the installation process.
Here are some precautions to follow:
1. Wear Protective Gear
When working with fence panels, posts, and tools, it is important to wear appropriate protective gear such as gloves, safety glasses, and a hard hat.
This will protect you from potential injuries and accidents that may occur during the installation process.
2. Follow Proper Installation Techniques
Follow the manufacturer’s instructions for installing the fence panels, posts, and gate hardware.
Improper installation can result in a fence that is not secure and may pose a safety risk.
3. Ensure Proper Placement
Ensure that the fence is placed in the correct location and is not encroaching on neighboring properties or public land.
This can result in legal issues and the need to remove or relocate the fence.
4. Check for Underground Utilities
Before digging post holes, check for underground utilities such as water lines, gas lines, and electrical cables.
Contact your local utility company to have them mark the locations of these utilities to avoid damaging them during the installation process.
5. Use Caution with Tools
Use tools such as post hole diggers, tamping tools, and wire cutters with caution.
Improper use of these tools can result in injuries and accidents.
6. Keep Children and Pets Away
Keep children and pets away from the installation site to avoid injuries and accidents.
The site may contain sharp tools, heavy materials, and other hazards that can pose a danger to children and pets.
7. Secure the Fence Properly
Make sure the fence is properly secured to avoid it from falling over or causing injuries.
Ensure that the fence posts are securely anchored in the ground and that the fence panels are properly attached to the posts.
By following these precautions, you can ensure a safe and successful installation of your welded wire fence.
Remember to always prioritize safety and take the necessary steps to avoid accidents and injuries.
How to Connect Welded Wire Fence Together?
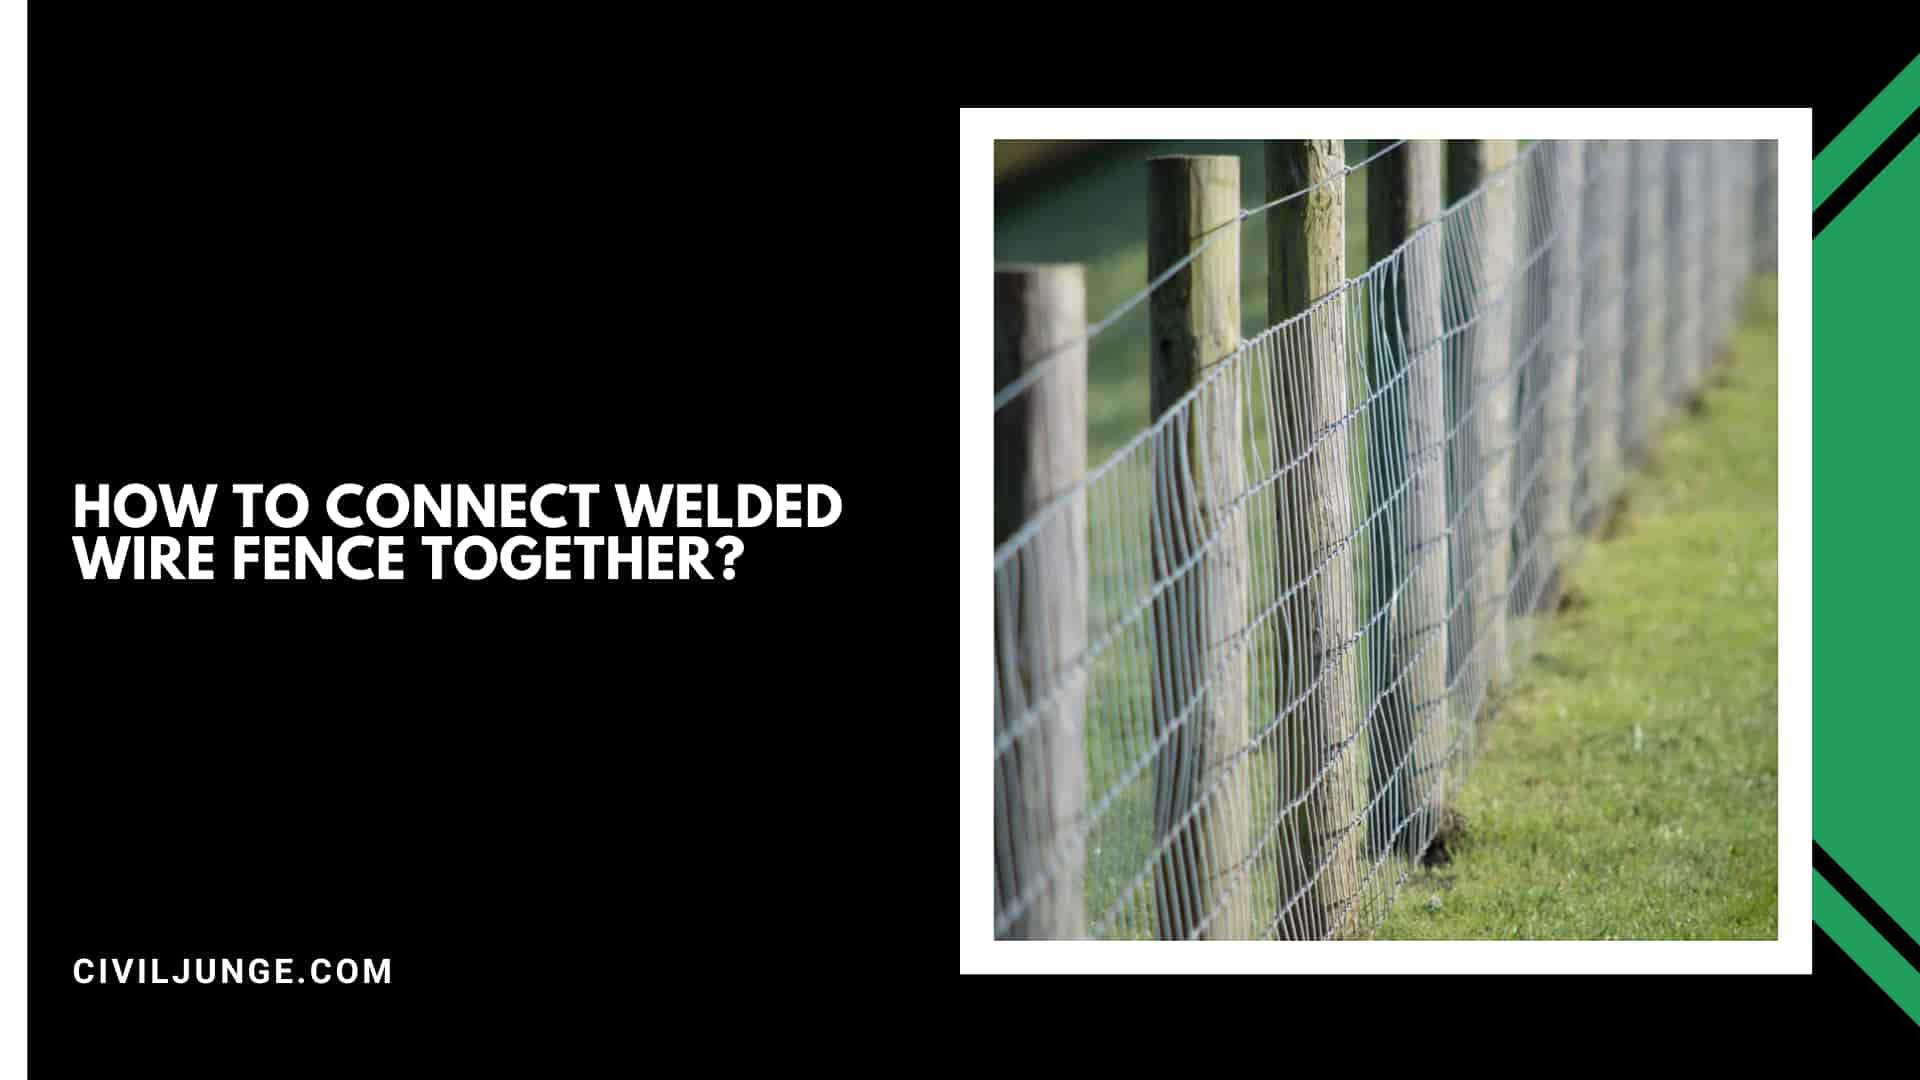
Connecting welded wire fence panels together is a crucial step in the installation process.
There are several ways to do this, but the most common methods include using zip ties, hog rings, or clips.
Here are the steps to connect welded wire fence together using these methods:
1. Zip Ties
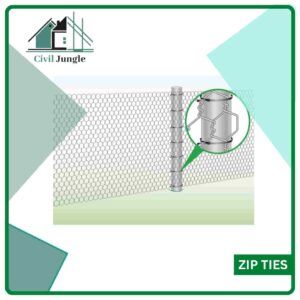
Zip ties are a simple and effective way to connect welded wire fence panels together.
To use zip ties, place the panels next to each other and overlap them by about two inches.
Use a zip tie to connect the panels together by threading the tie through the wire mesh and tightening it with pliers.
Continue adding zip ties every six to eight inches along the overlap until the panels are securely connected.
2. Hog Rings
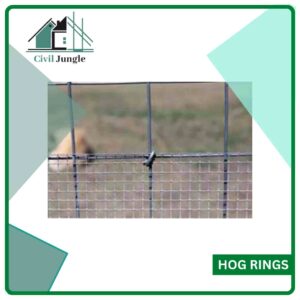
Hog rings are another common method for connecting welded wire fence panels together.
To use hog rings, place the panels next to each other and overlap them by about two inches.
Use a hog ring plier to squeeze the hog ring onto the overlapped wires, securing the panels together.
Add hog rings every six to eight inches along the overlap until the panels are securely connected.
3. Clips
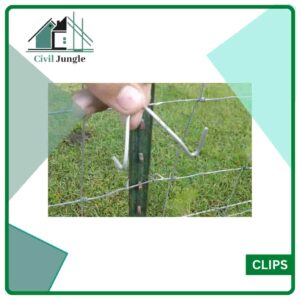
Clips are a popular method for connecting welded wire fence panels together because they are easy to install and remove.
To use clips, place the panels next to each other and overlap them by about two inches.
Slide the clip onto the overlapped wires and use pliers to crimp the clip, securing the panels together.
Add clips every six to eight inches along the overlap until the panels are securely connected.
In summary, connecting welded wire fence panels together can be done using zip ties, hog rings, or clips.
Choose the method that works best for your fence and ensure that the panels are securely connected for a strong and durable fence.
How to Install a Welded Wire Fence on Uneven Ground?
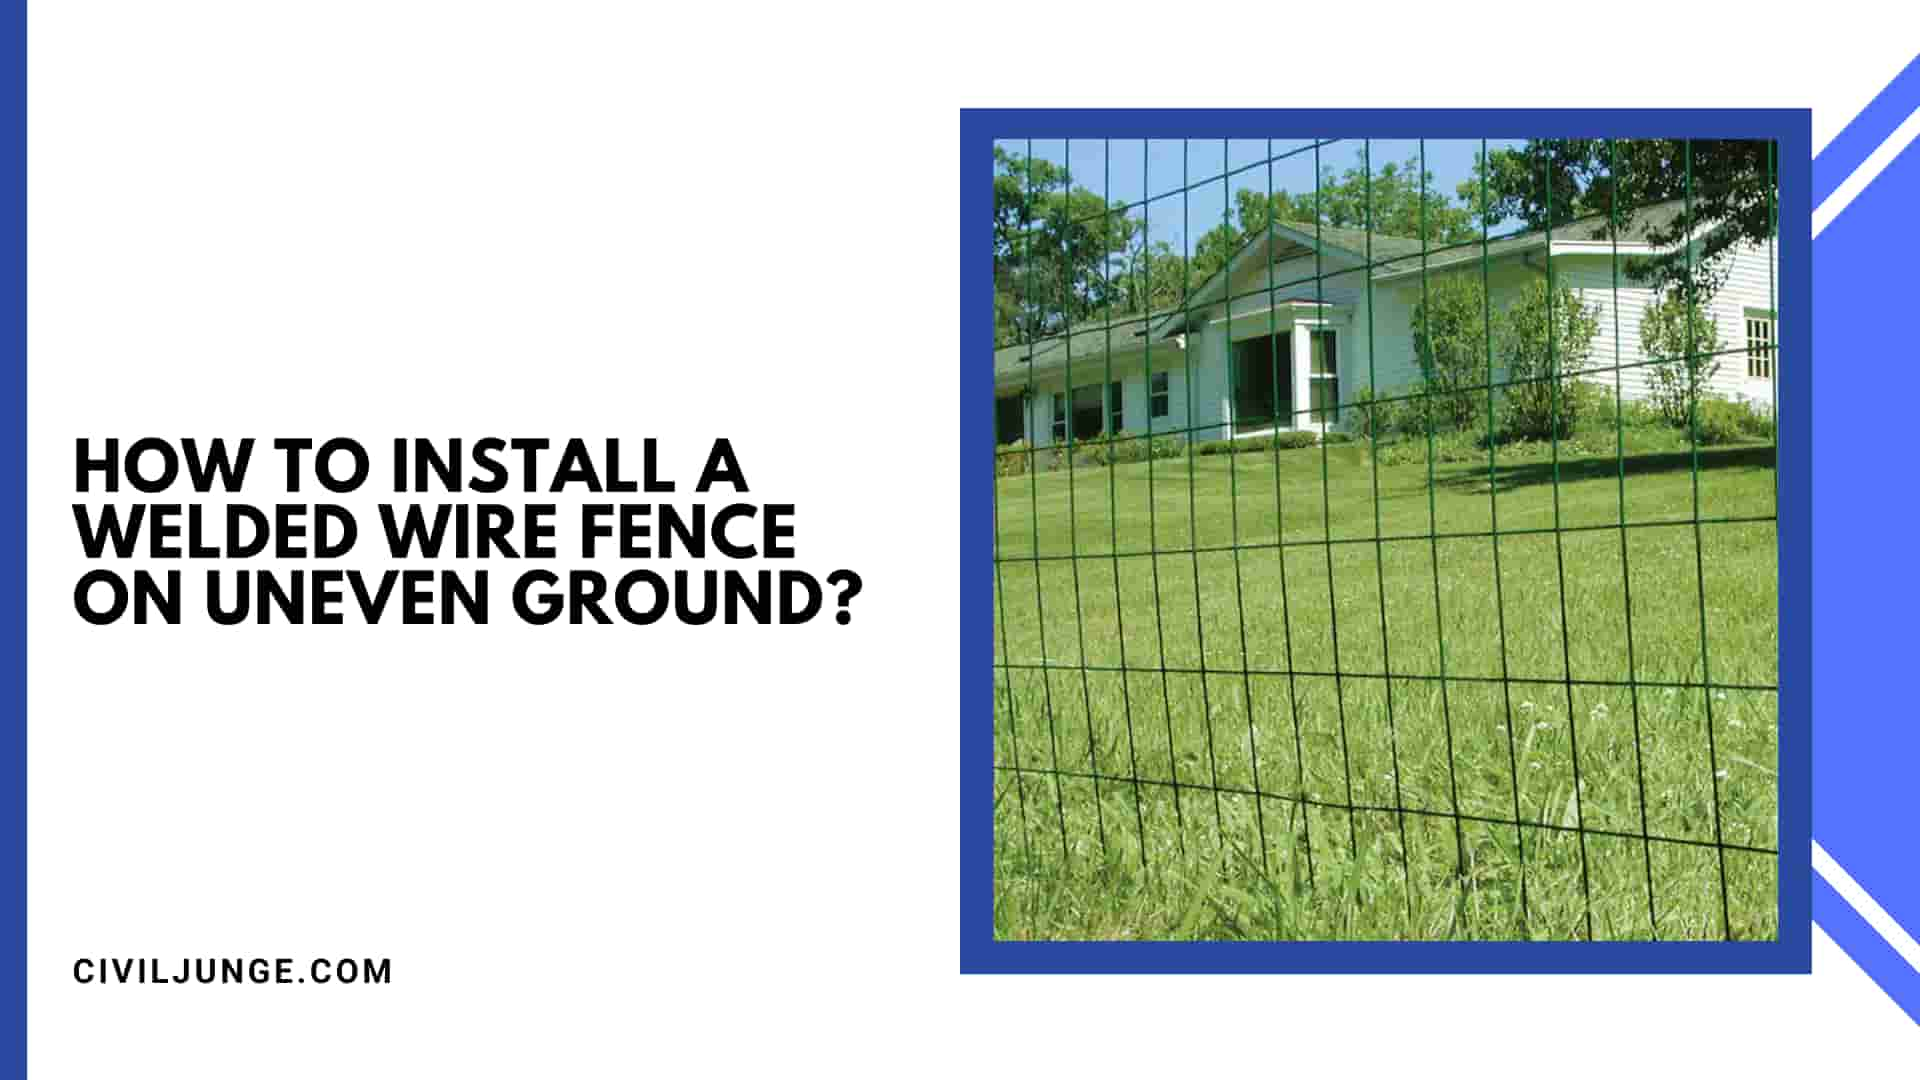
Installing a welded wire fence on uneven ground can be challenging, but with the right techniques, it is possible to achieve a secure and level fence.
Here are the steps to follow for installing a welded wire fence on uneven ground:
1. Measure and Mark the Fence Line
Start by measuring and marking the fence line where you want to install the fence.
Use stakes and string to create a straight line, and mark the location of the fence posts.
2. Dig the Post Holes
Dig the post holes at the marked locations using a post hole digger.
The depth of the holes should be determined by the height of the fence and the type of soil you are working with.
Typically, a post hole should be 1/3 to 1/2 the height of the fence above ground.
3. Set the Posts
Set the posts in the holes and add a few inches of gravel or crushed rock to the bottom of each hole to help with drainage.
Use a level to ensure that each post is straight and plumb.
Fill the holes with concrete or gravel and tamp down the soil around the posts.
4. Install the Fence Panels
Attach the fence panels to the posts using fence ties or hog rings.
Start at one end of the fence and work your way along the fence line, attaching each panel as you go.
If the ground is uneven, use a level to ensure that each panel is level.
5. Trim the Panels
If the fence panels are too long or too wide, trim them to fit using a wire cutter.
Be sure to wear gloves and eye protection when cutting the panels.
6. Install the Gate
Install the gate using the manufacturer’s instructions. Be sure to check that the gate is level and swings freely.
7. Secure the Fence
Finally, secure the fence to the posts using fence ties or hog rings.
Check that the fence is level and adjust as necessary.
In summary, installing a welded wire fence on uneven ground requires careful planning and execution.
Follow these steps to ensure a secure and level fence that will last for years to come.
Remember to always prioritize safety and take the necessary precautions when working with tools and materials
Conclusion:
Installing a welded wire fence is a simple and straightforward process that can be completed in a weekend. With the right materials and tools, you can create a durable and effective fence that will last for years to come.
Remember to plan your fence, purchase the necessary materials, and follow the steps outlined in this article. With a little bit of effort, you can create a beautiful and functional fence that will provide security and privacy for your property.
How to Install a Welded Wire Fence?
Installing a welded wire fence is a relatively straightforward process. Here’s a step-by-step guide to help you install one:
- Gather the necessary materials:
- Welded wire fence panels
- Fence posts
- Post hole digger
- Concrete (optional)
- Level
- Hammer
- Nails or screws
- Fence clips or hog rings
- Tension wire (optional)
- Gate (if required)
- Plan the layout: Determine the area where you want to install the fence and mark the boundaries. Use stakes and string to establish the fence line, ensuring it is straight and follows your desired layout.
- Dig the post holes: Use a post hole digger to dig holes for the fence posts. The depth and spacing of the holes will depend on the height and strength of the fence you’re installing. As a general rule, dig holes approximately one-third the height of the fence and space them 6 to 8 feet apart. The corner and gate posts should be set deeper and in concrete for added stability.
- Install the corner and gate posts: Place the corner and gate posts in the holes, making sure they are plumb (vertical) and level. If necessary, brace the posts temporarily with stakes and string to keep them in position while you proceed with the installation.
- Secure the fence panels: Unroll the welded wire fence panels along the fence line, attaching them to the posts. You can use nails or screws to secure the panels to wooden posts, or fence clips or hog rings for metal posts. Ensure the panels are level and tight against the posts as you attach them.
T-Post Spacing for Welded Wire Fence
The typical spacing of posts is between 8′ and 12′. The distance should be determined by the type of fence and the amount of support that the fence needs in order to stay taught. Animal pressure and weather conditions are serious considerations when it comes to how much reinforcement is needed.
How to Attach Wire Mesh to Wood Fence?
You can use a staple gun to attach the weld mesh to wooden material. This will make your job quicker and easier. If you want to strengthen the attachment points, you can fire two staples in an X shape over the weld point where you start and finish a section.
Does Welded Wire Fence Need to Be Stretched?
How Far Apart Should Fence Posts Be for Welded Wire?
The typical spacing of posts is between 8′ and 12′.
Does Welded Wire Fence Rust?
If the environment is too harsh, the Welded wire mesh may show rust. It will actually rust. But if the surrounding environment is bad, or it is improperly maintained during use, the wire mesh may show rust.
Should a Fence Be Level or Follow the Ground?
Building a fence on uneven ground can also lead to other issues. First, the fence itself is likely to be weaker if it’s not built on level ground. Second, an uneven fence is more likely to fall over, which could cause serious injury to anyone who happens to be nearby.
How Do I Stop Water from Coming Under My Fence?
One of the most effective ways of preventing water from reaching your home is to construct a raised barrier made of soil called a berm. Not only are berms effective and generally easy to install, but they also add to the aesthetic value of your property.
Like this post? Share it with your friends!
Suggested Read –