What Is Orthographic Projection?

Orthographic views consist of one, two, or more separate aspects of an object taken from different directions & different sizes, generally at right angles to each other and arranged in a definite manner.
These views collectively describe the object. Orthographic views of any purpose can be represented by any one of the two systems of projection
The first angle projection and the third angle projection. It is named according to the quadrant in this which the object is imagined no place for purposes of line projection.
As far as any shape and size of the views are concerned, there is no difference between these two systems. The only difference lies in the relative positions of the various views. Indian Standards Institution recommends
(IS: 696-1972) both these systems leaving the choice to the discretion of the organization concerned. However, there are specific merits and demerits associated with each system. Students are advised to study both methods to meet the varying demands of different industries in the country.
To meet this end. Some chapters in this book are exclusively dealt with in the first angle projection, and some in the third-angle projection.
Types of Orthographic Projection

Orthographic projection two different parts and also a different type of symbol as per below detail mention.
- First angle projection & First angle projection symbol
- Third angle projection & Third angle projection symbol
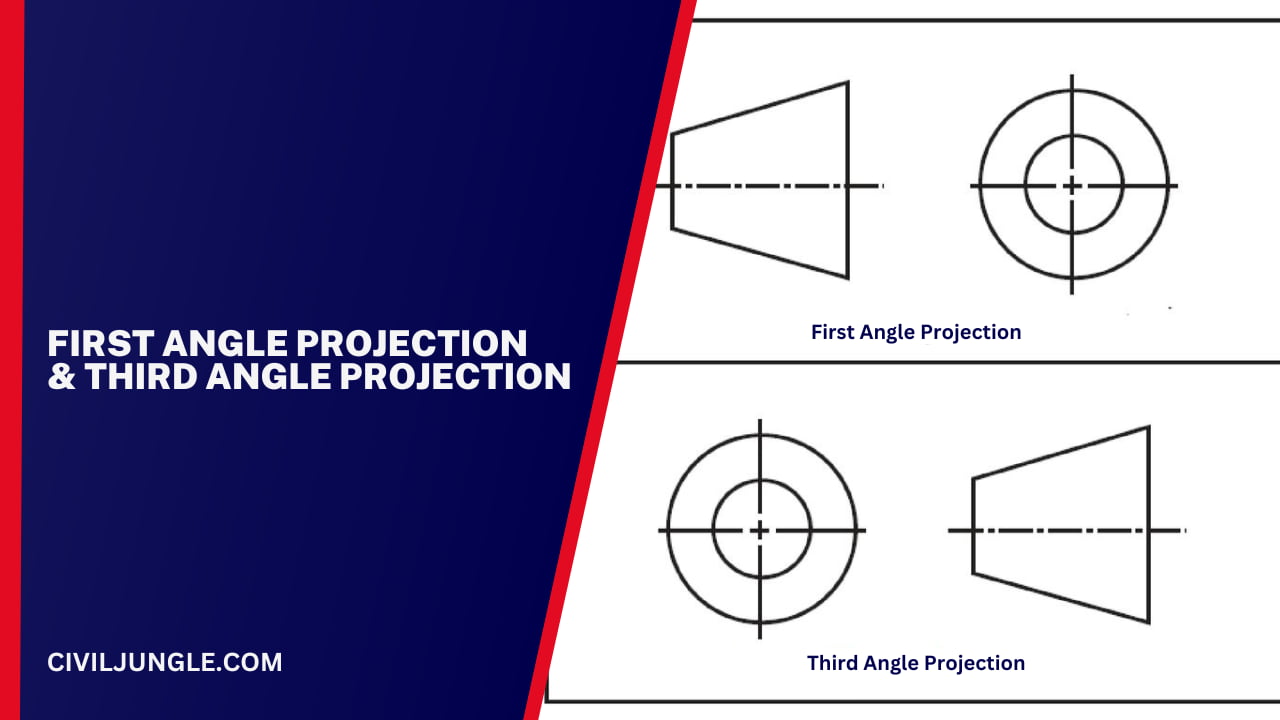
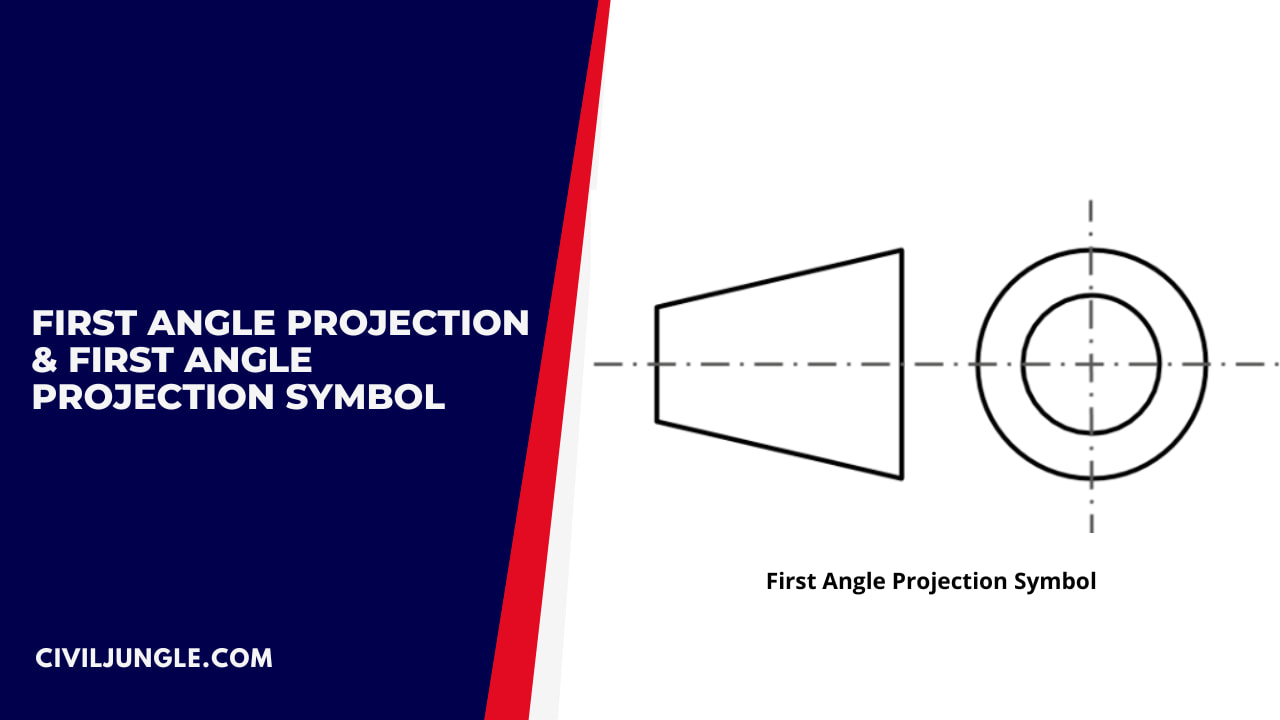
First Angle Projection & First Angle Projection Symbol

In this, the object is imagined to be in the first quadrant. Because the observer normally looks from the right side of the quadrant to obtain the front view. The objects will come in between the observer and the plane of projection.
Therefore, in this case, the object is to be transparent, and the projectors are imagined ta be extended from various points of the object to meet the projection plane. First, these meeting points when joined in the order form an image
This is the principle of the first angle projection. Thus in the first angle projection, any view is so placed that it represents the side of the object away from it.
First angle projection is merely used throughout all parts of Europe so that called European projection. Most important of First angle projection symbol
Third Angle Projection & Third Angle Projection Symbol

In this, the object is imagined to be placed in the third quadrant. Again, as the observer is normally supposed to look from the right side of the quadrant to obtain the front view, in this method, the projection plane comes in between the observer and the object.
Therefore, the plane of projection has to be assumed to be transparent. The intersection of this plan with the projectors from all the points of the object would form an image on the transparent plane.
Making Orthographic Views

- Front view
- Side view
- Top View
- Presentation of view
Front View

To draw the front view of an object in the first angle projection, the object which is assumed to be transparent is imagined to be in front of the vertical plane (first quadrant) as shown in.
The shape of the object, when viewing from the front. Is obtained by joining in order all the meeting points of the projectors extended from the visible edges of the object. This is called a front view.
A similar treatment is repeated for the front view in the third angle projection, but with a transparent vertical plane imagined to be held in front of the object.
Here the shape of the object when viewed from the front is obtained by joining in order all the intersection points on the transparent plane of the projectors to the visible edges of the object
Side View

The shape of some objects cannot be interpreted completely from the from and top views only. In such cases, more information may be needed, and for this purpose, a third plane is imagined.
This is called an auxiliary vertical plane and is placed perpendicular to the first two planes. A view can be obtained on to this plane in a way similar to that explained above.
In the first angle method, if the auxiliary vertical plane is the place to the right of the object, a view is obtained on it by looking at the object from its left side.
It is then called a left side view. On the other hand, if the auxiliary vertical plane is placed to the left of the
Top View

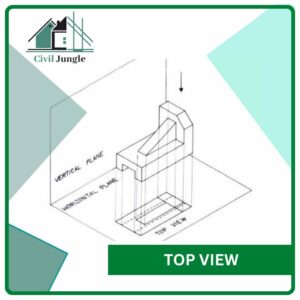
The projection on to a plane placed horizontally below the transparent object will reveal the shape of the object as viewed from below.
This view is called a top view, and the principle that is being followed is that of the first angle projection. Figure deals with a similar treatment in the third angle projection with a transparent plane placed horizontally below the object.
Presentation of view

For presenting the views on a drawing sheet, irrespective of the method of projection, the horizontal plane, and the auxiliary vertical plane arc rotated till they come in the plane with the original vertical plane.
Now the three views of the object will be in the same plane, viz., the plane of the paper. These three views normally provide enough information to describe the shape and size of the object.
Above drawing shows the relative positions of the views in the first angle projection and below drawing n the third angle projection.
The method used for the projection is indicated by a distinctive symbol (presentation of view drawing No 1 .C and Presentation of view drawing No 2 C)
Frequently Asked Questions (FAQ) about Orthographic Projection:
What is orthographic projection?
Orthographic projection is a method used to represent three-dimensional objects in two dimensions by projecting them onto a series of planes from different viewing angles.
What are the main types of orthographic projection?
The main types are first angle projection and third angle projection, named based on the quadrant in which the object is imagined to be placed.
What is the difference between first angle projection and third angle projection?
In first angle projection, the object is imagined to be in the first quadrant, with the observer looking from the right side of the quadrant to obtain the front view.
In contrast, in third angle projection, the object is imagined to be in the third quadrant, and the observer looks from the right side of this quadrant to obtain the front view.
Which regions or standards typically use first angle projection and third angle projection?
First angle projection is commonly used in Europe, often referred to as European projection, while third angle projection is used in North America, also known as American projection.
How are orthographic views presented?
Orthographic views typically include front view, side view, and top view. These views are presented on a drawing sheet with the horizontal and auxiliary vertical planes rotated to align with the original vertical plane, placing all views in the same plane.
Why are both first angle projection and third angle projection taught and used?
Both systems are taught to meet the varying demands of different industries. The choice between the two methods is often left to the discretion of the organization or industry concerned.
What are the advantages and disadvantages of first angle projection and third angle projection?
Each system has its merits and demerits, which may influence its suitability for specific applications or industries. Students are encouraged to study both methods to be adaptable to different industry requirements.
How are orthographic views represented symbolically?
Each type of orthographic projection is represented by a distinctive symbol, indicating whether it follows first angle projection or third angle projection principles.
What are the primary orthographic views needed to describe an object?
The primary orthographic views include front view, side view, and top view, which collectively provide sufficient information to describe the shape and size of the object.
Are there any additional views that may be needed in orthographic projection?
In some cases, an auxiliary vertical plane may be used to obtain additional views, such as left side view, to provide more comprehensive information about the object’s shape and dimensions.

