What Is EPDM?
EPDM, known for its epdm rubber roofing cost effectiveness, is an extremely durable synthetic rubber roofing membrane widely used in low-slope buildings in the United States and worldwide. Its two primary ingredients, ethylene and propylene, are derived from oil and natural gas.
What Is EPDM Roofing?
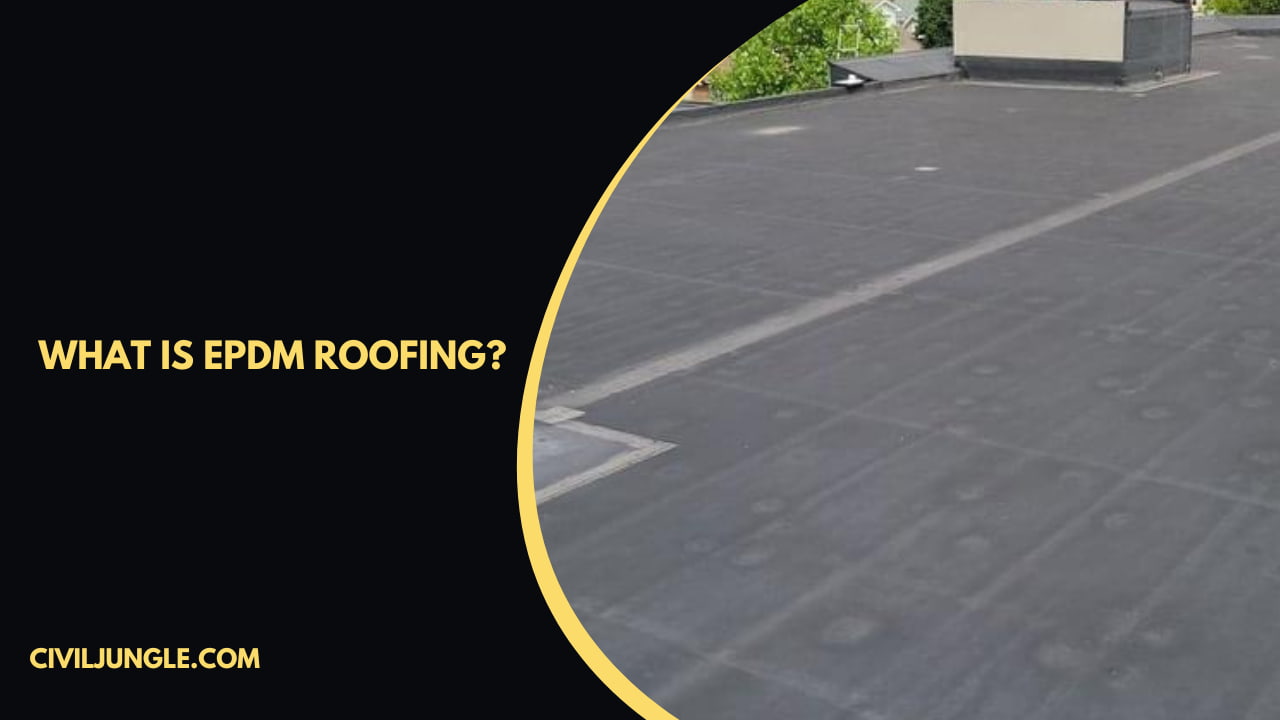
EPDM is a type of roofing material that is used for flat roofing systems. Homeowners may not choose it for aesthetic purposes, but it’s practical and durable, and it will certainly get the job done in terms of protecting your property from the elements.
It can be used for both residential and commercial structures that have low slopes. EPDM flat roofs are designed to last about 25-30 years. They are flexible, lightweight, and have fire resistance to wind, thermal shock, UV radiation, hail, extreme temperatures, and more.
If you are interested in EPDM roofing installation, please feel free to get in touch with our team of experts.
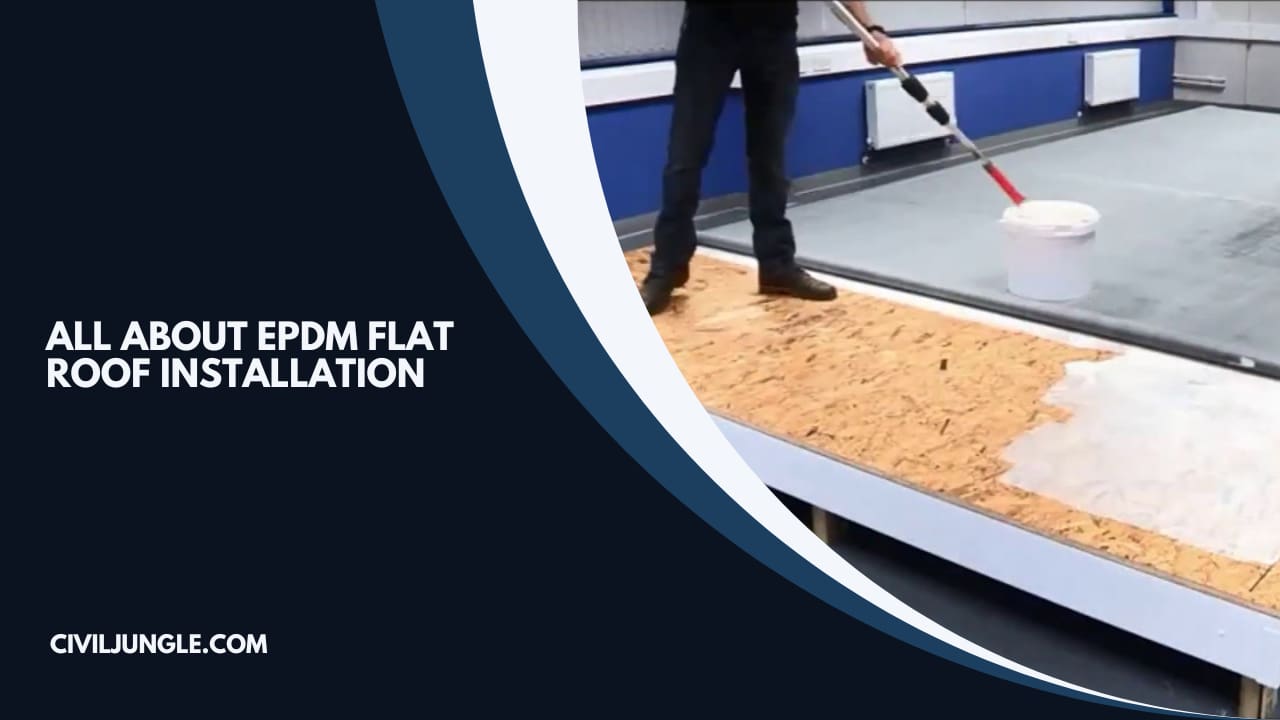
EPDM Flat Roof Installation
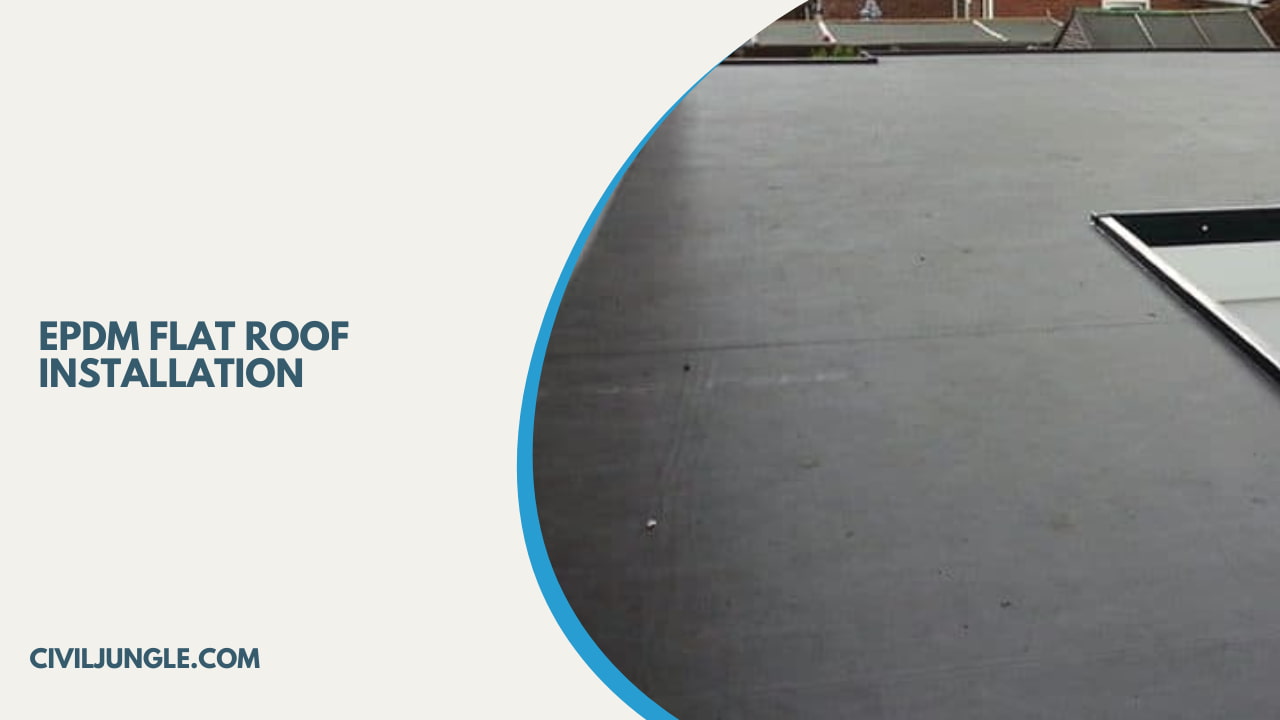
EPDM roofing installation is a very easy process and it is widely used nowadays. EPDM roofing is a type of roofing that is installed with large sheets. The EPDM roofing process is a type of process which required fewer laborers and it does not require too much-skilled labor.
This type of method is a “fully adhered” method where an adhesive material is used to bond together. The EPDM roofing process is a step-by-step process that provides rubber roofing to protect your flat roof.
Some items that are required to install the EPDM rubber roofing are below,
- EPDM membrane
- Paint roller
- Adhesives (for bonding purposes)
- Utility knife or scissors
- Gloves and eye protection
- Push broom
Cost of EPDM Flat Roof
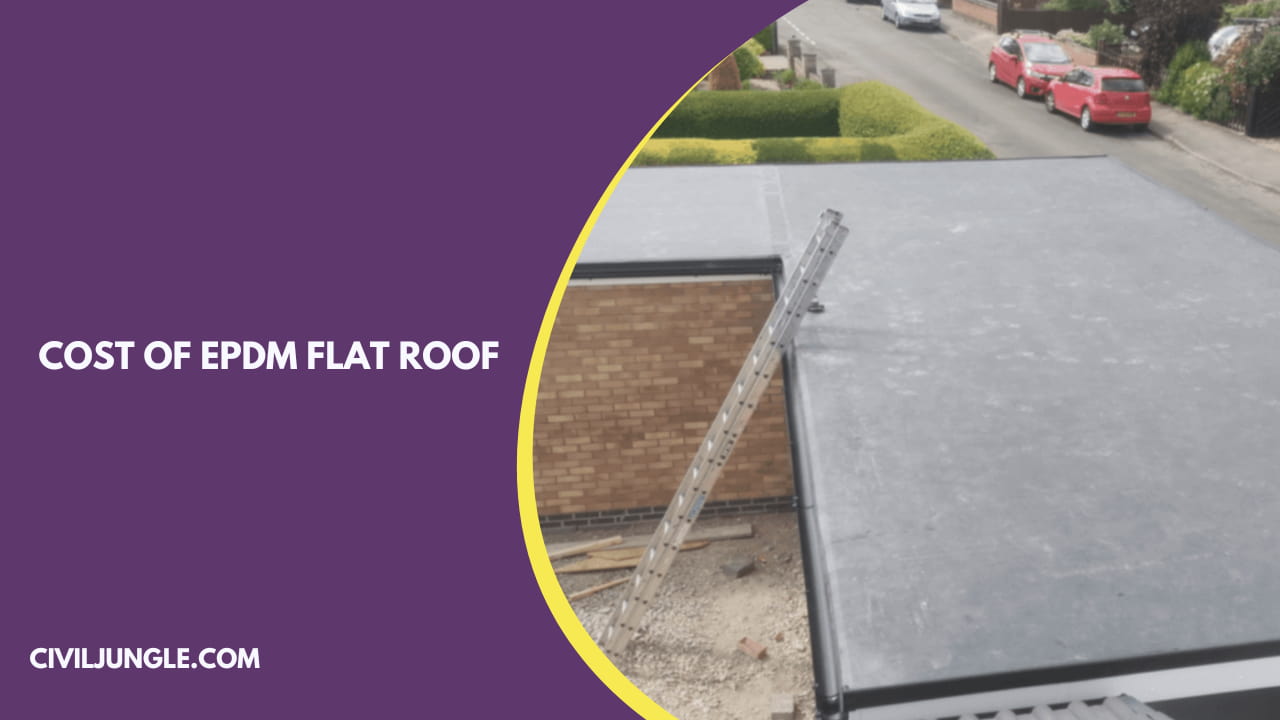
The rubber roofing cost, particularly for epdm roofing cost per square foot, varies from one range to another range because of the availability of raw materials and skilled laborers.
On a typical flat roof, the install cost of an EPDM flat roof is expected to vary from $6.50 to $12.50 per square foot. Or for the low slope roof replacement, it varies from $9750 to $18750 for 1500 square feet.
The flat roof cost also depends on the number of penetrations, the number of layers of insulation, also the existing roof removing cost, and the cost depending on tear-off may be lower or higher.
And Other costs affecting factors are accessibility, overall roof difficulty, and the location of the project. For this above reason, we can say this flat roof system also increases the total cost of the project.
How to Install EPDM Rubber Roofing?
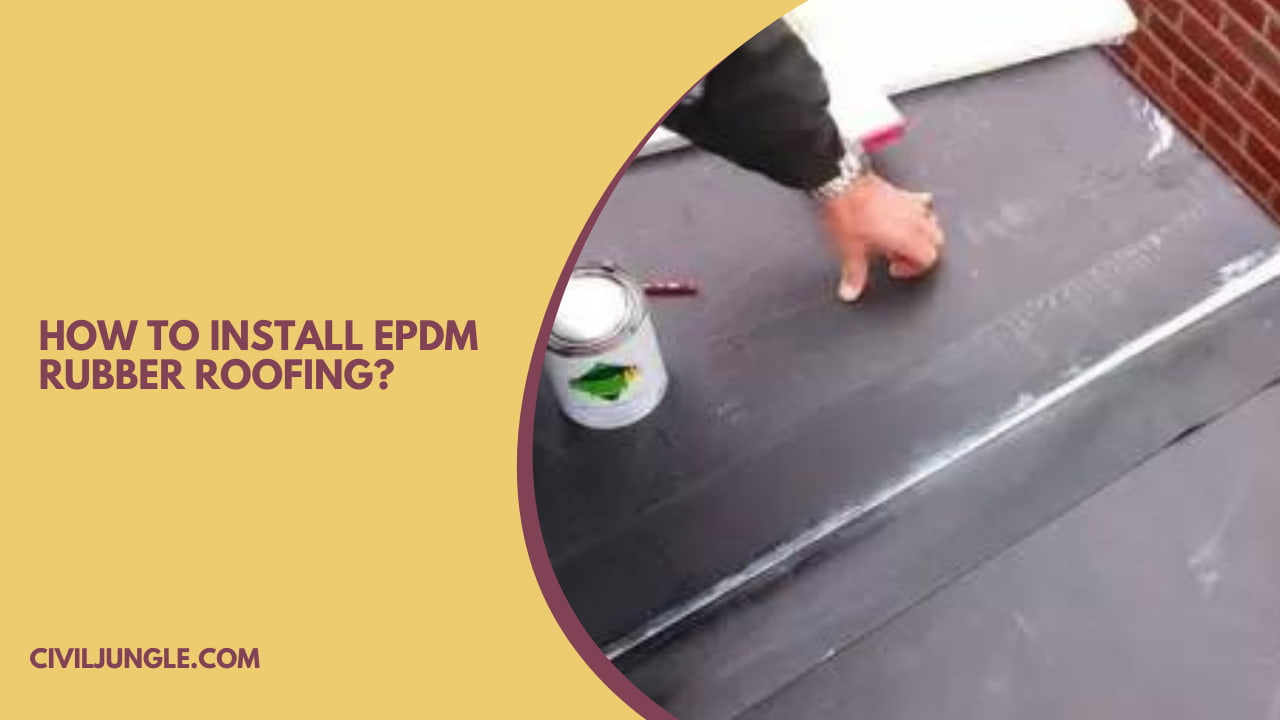
The process of how to install epdm roofing, specifically epdm roof installation, is straightforward and it is widely used nowadays.
EPDM rubber roofing is a type of roofing that is installed with large sheets. EPDM rubber roofing process is a step-by-step process that provides rubber roofing to protect your flat roof.
This type of method is a “fully adhered” method where an adhesive material is used to bond together. There are have many steeps and required experience to avoid many mistakes that cause damage to the roof.
The steeps are showing below.
- Prepare the roof deck.
- Add a drip edge and drip batten.
- Install the rubber membrane.
- Apply the finishing touches.
1. Prepare the Roof Deck
At first, we have to prepare the roof deck by cleaning the deck from the grime or oil and also cleaning any sharp edges of OSB board or plywood from the roof deck.
The adhesive, can lead to a problem with the moisture with a little amount, for this reason at first you should be ensuring that everything is totally dry then you can start the installation process.
If over an existing roof you want to install EPDM then at first you should be cover it with a clean OSB board or sanded plywood to protect the membrane create a barrier and cover it.
For the roof decking if you want directly apply the EPDM then a layer of insulation should be added to prevent the water vapor problems.
2. Add a Drip Edge and Drip Batten
After ready the roof deck we will need to install a drip edge with the batten aligning the curved top. Before installing the drip edge, into the fascia the drip batten is installed around the roof and into the gutter system to guide drain water extend the decking.
A drip edge and drip batten system can prevent erosion around the foundation.
3. Install the Rubber Membrane
To cover the roof edge and exterior walls completely with a thick overhang we will need enough EPDM membrane. After the drip edge is installed, the rubber membranes are unrolled in the place where they will be installed.
When you applied the rubber membrane to the bonding adhesive for up to half hours it will be relaxed in a place because when it is applied it will not create any problem.
4. Apply the Finishing Touches
The finishing touches may be small on the final edges, but care to do right and they take time. Around the edge of the border, the adhesive should be applied.
By using pressure-sensitive flashing the corners you will need to be sealed. For vents to create watertight seals use flashing and another roof preventing things.
To prevent the entry of moisture from the membrane all edge is the seal by the silicon sealant. After that by trimming you can remove the extra membrane from the roof.
Full Replacement or Over Boarding of a Roof Deck
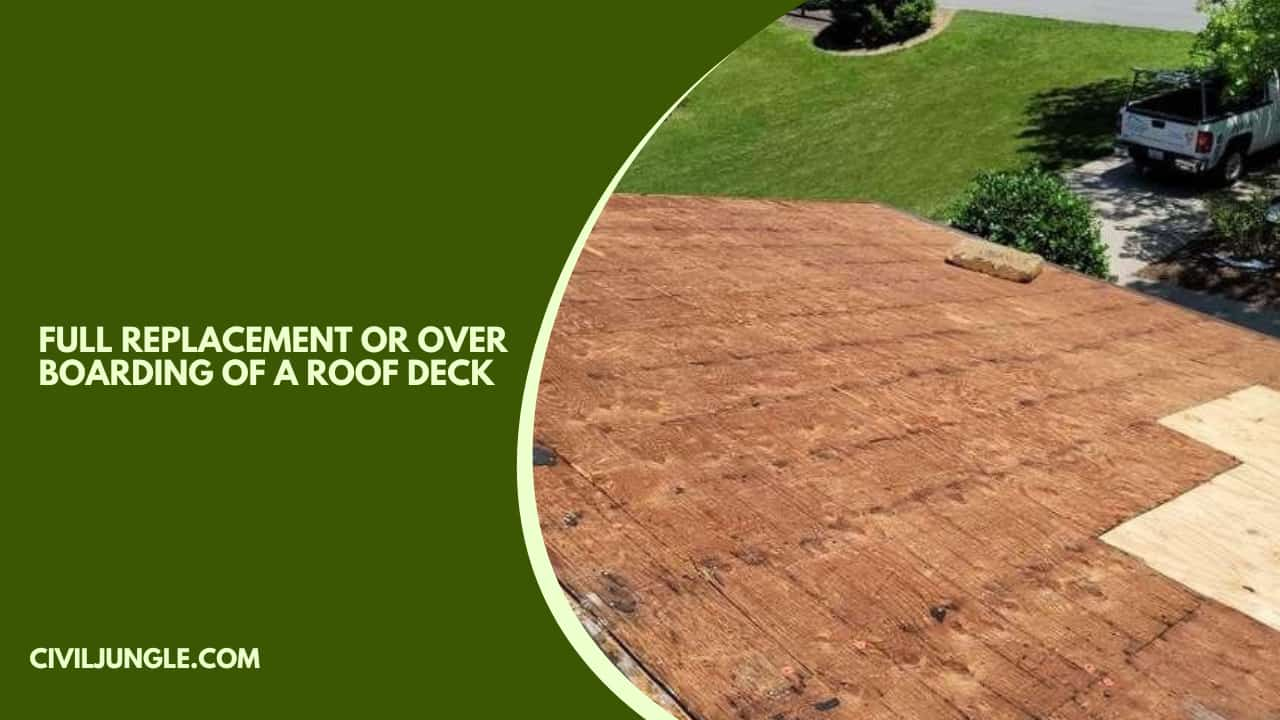
When considering installing a flat roof membrane, especially for full replacement or over-boarding of a roof deck at first, we have to choose the right contractor from the local area. After that, we have to know about the contractor, his experience and skill to improve the quality of your roof.
After choosing an experienced contractor you have to select the materials for your roof construction. For the increasing lifespan of your roof, you should be chosen quality material for the construction.
The materials are asphalt composition shingles, wood shakes, slate, metal, composition slate, and tile. After choosing and buying one material above them, we have to remove the old roof shingles from the roof. After removing the old shingles, we have to place new shingles on the place of the old roof.
If you create a wood deck then firstly you have to inspect the wood properly. After placing new roof materials drip edge is installed and the roof surface is ready.
Flat Roof Membrane Installation
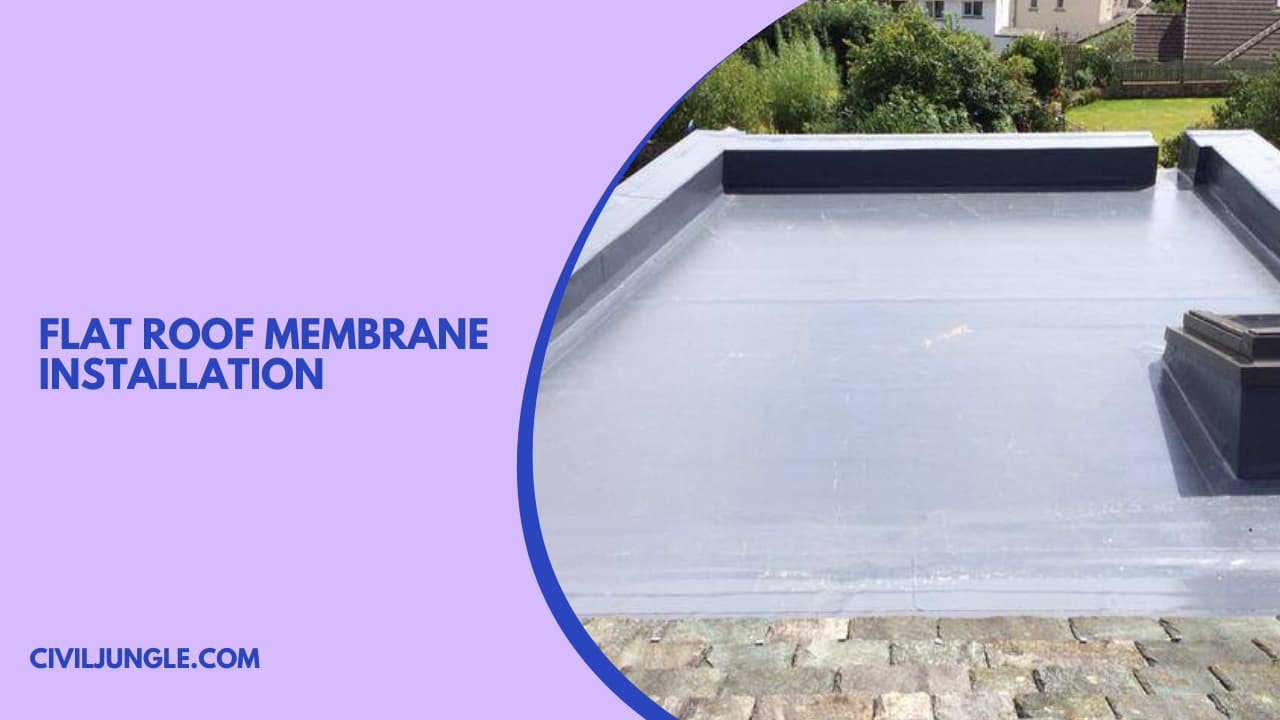
The rubber flat roof installation process, a key aspect of flat roof membrane installation, is quite simple and it is widely used nowadays.
The flat roofing membrane process is a step-by-step process that provides rubber roofing to protect your flat roof. This type of method is a “fully adhered” method where an adhesive material is used to bond together.
There are have many steeps and required experience to avoid many mistakes that cause damage to the roof. The steeps are showing below-
- Roof preparation.
- Fitting and attaching the membrane.
- Finishing up.
1. Roof Preparation
At first, we have to prepare the roof by cleaning the deck from the grime or oil and also cleaning any sharp edges of OSB board or plywood from the roof deck.
The adhesive, can lead to a problem with the moisture with a little amount, for this reason at first you should be ensuring that everything is totally dry then you can start the installation process.
2. Fitting and Attaching the Membrane
After the preparation of the roof, the membrane should be fitting and attached to the roof. To cover the roof edge and exterior walls completely with a thick overhang we will need enough membrane. After the drip edge is installed, the membranes are unrolled in the place where they will be installed.
How to Fitting EPDM Membrane?
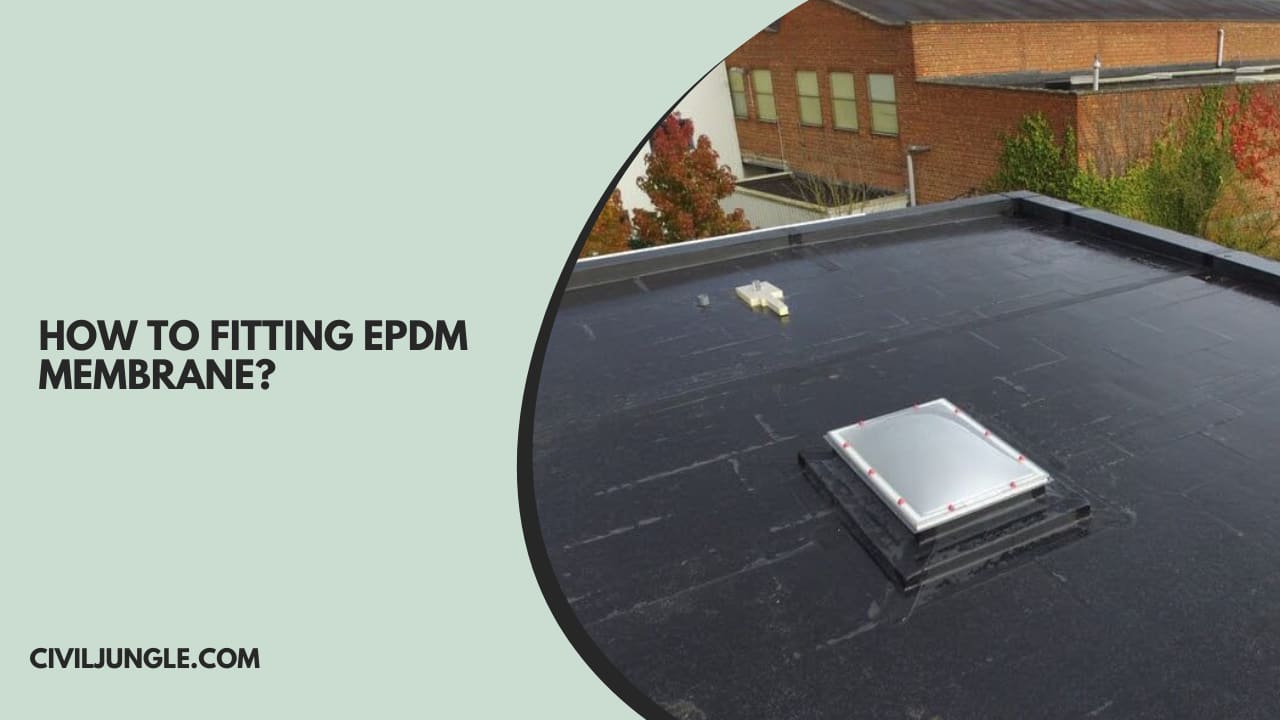
For fitting the EPDM membrane properly on the roof, it should be trimmed at the required. After that according to the required roof dimension trimmed the membrane and installed it on the roof.
Before installing the membrane on the roof, you have to ensure that the cutting part of the membrane did not cut too large or too short. In this way, you can fit the EPDM membrane on your roof.
How to Cutting EPDM Membrane?
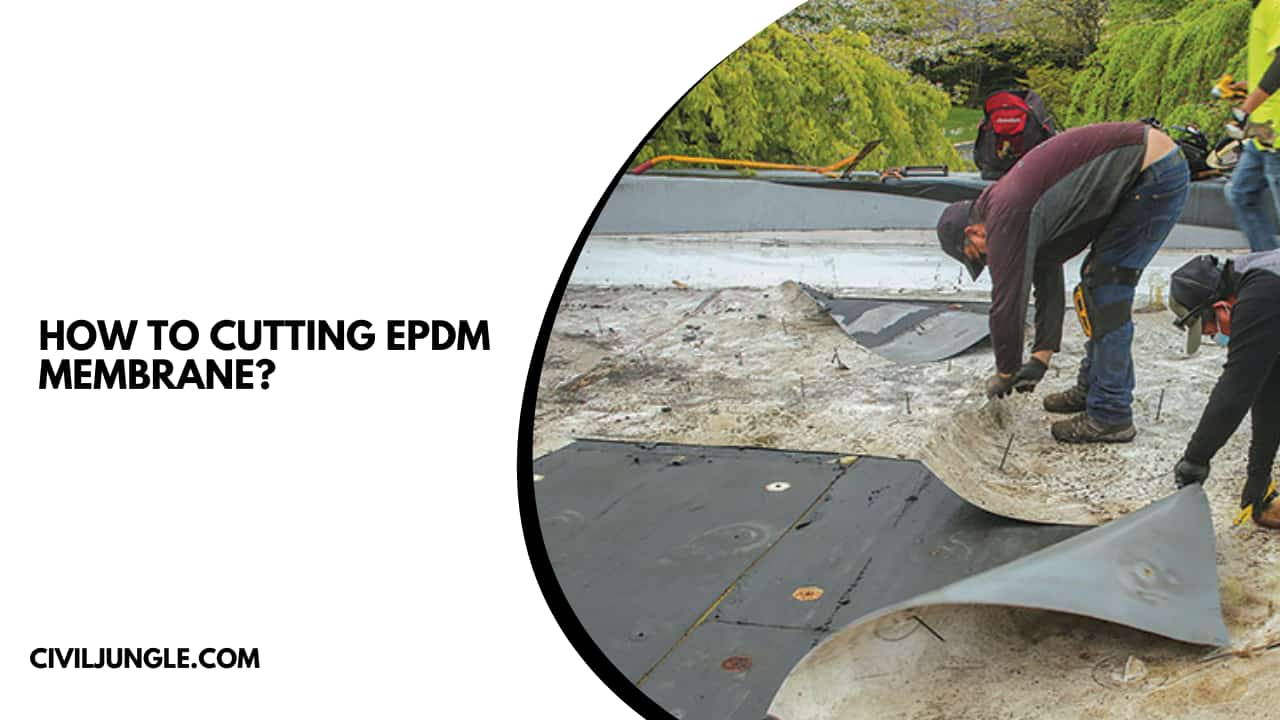
For the EPDM membrane cutting, experts are essential because it is a lightly complicated process in roofing systems.
At first, you have to measure your home roof perfectly by a contractor or an expert after finishing the complete measurement of the roof you should be cutting the EPDM membrane on the measured roof dimension.
Before installing the membrane on the roof, you have to ensure that the cutting part of the membrane did not cut too large or too short. It is a basic fundament of the cutting of EPDM membrane for your roof.
Gluing Down the EPDM Rubber
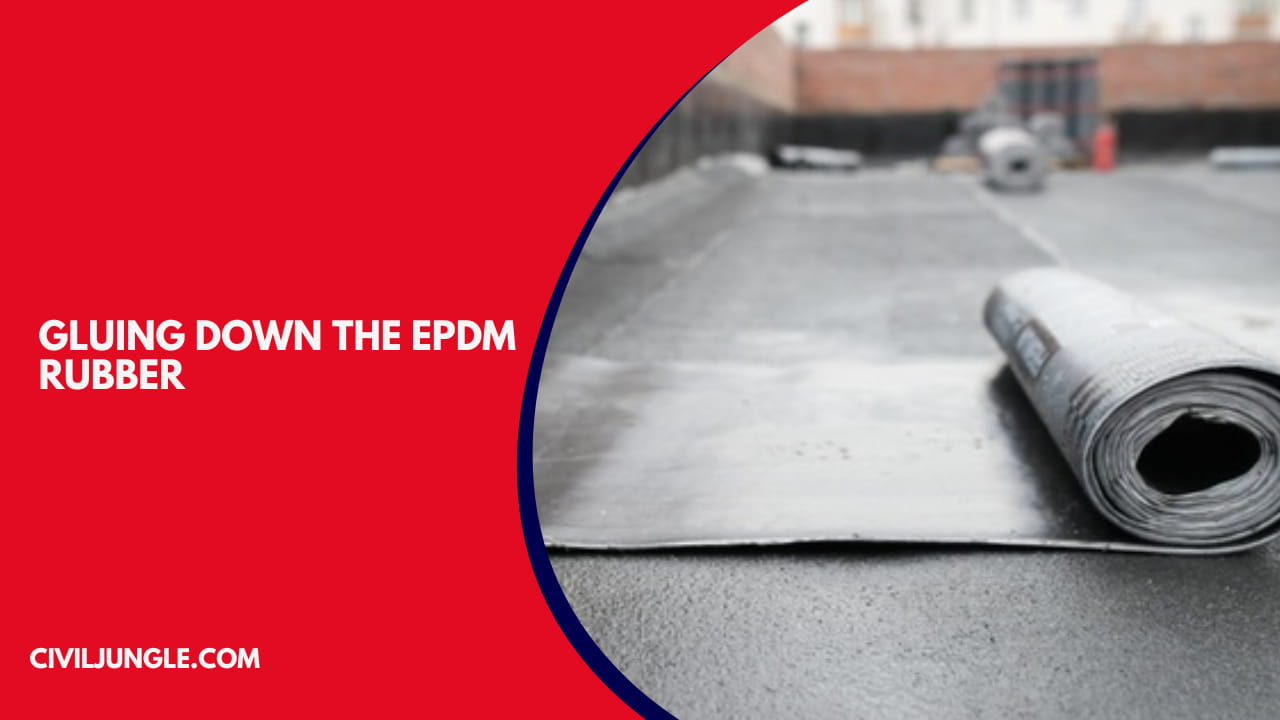
At first, we have to place the cutting pieces of EPDM rubber on the roof after placing the cutting piece of EPDM, the glue is brushed over the pieces.
After glue brush over the rubber cutting pieces, the pieces are fixed on the roof by a temporary load or a temporary clip. After 2 or 3 days when the glue is dry, the temporary load or clip is removed from the roof. By following some steps, the EPDM rubber is glued down.
EPDM Details
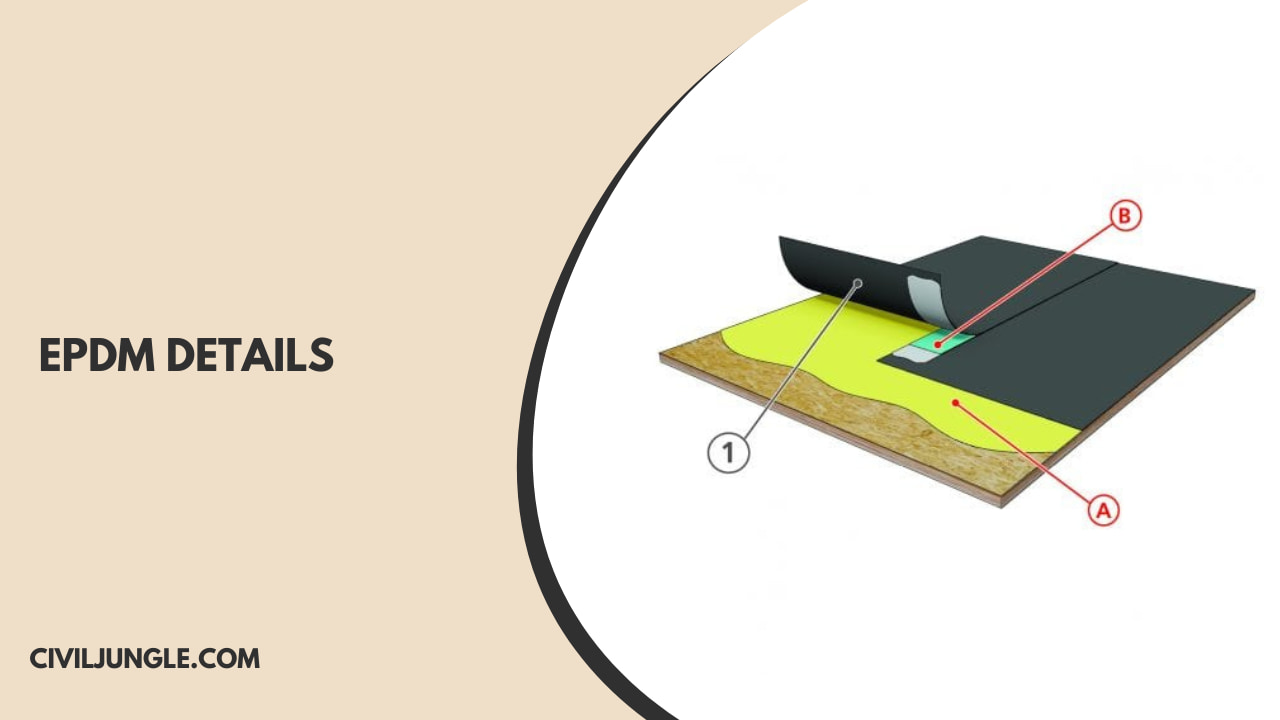
Given the rubber flat roof cost and durability, EPDM is widely used worldwide, including in the United States in roof constructions. EPDM is a roofing membrane that is manufactured with extremely durable synthetic rubber and used on low slope buildings in many countries.
The EPDM has two primary ingredients one is propylene and another is ethylene that’s are derived from natural gas and oil. The EPDM is available in markets in two colors one is white and another is black.
And also, it is available in the market in many lengths that’s start from 7.5 feet to 50 feet and there are have only two types of thickness that are 45 mm and 60 mm.
EPDM rubber roofing process is the step-by-step process that provides rubber roofing to protect your flat roof. For installed EPDM we have to follow some steps properly that’s are below.
1. Roof Preparation
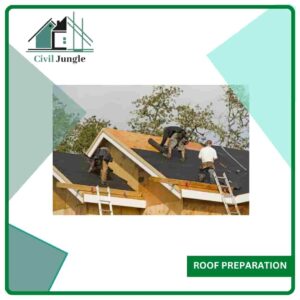
At first, we have to prepare the roof by cleaning the deck from the grime or oil and also cleaning any sharp edges of OSB board or plywood from the roof deck.
The adhesive, can lead to a problem with the moisture with a little amount, for this reason at first you should be ensuring that everything is totally dry then you can start the installation process.
2. Fitting and Attaching the Membrane
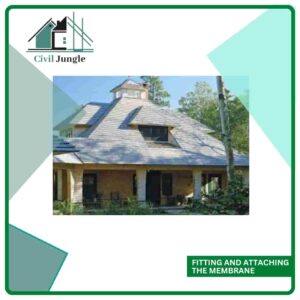
After the preparation of the roof, the membrane should be fitting and attached to the roof. To cover the roof edge and exterior walls completely with a thick overhang we will need enough membrane. After the drip edge is installed, the membranes are unrolled in a place where they will be installed.
3. Apply the Finishing Touches
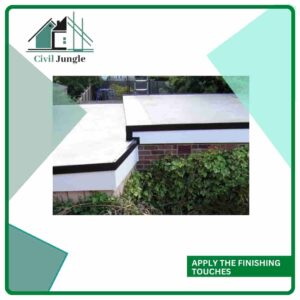
The finishing touches may be small on the final edges, but care to do right and they take time. Around the edge of the border, the adhesive should be applied.
By using pressure-sensitive flashing the corners you will need to be sealed. For vents to create watertight seals use flashing and another roof preventing things.
To prevent the entry of moisture from the membrane all edge is the seal by the silicon sealant. After that by trimming you can remove the extra membrane from the roof.
Epdm Roof Trims
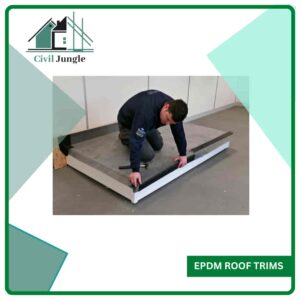
Depending on the installation of EPDM on the roof the trims are divided into four types. The types are under tiles, flat roofs, at a parapet, and up a wall, the EPDM roof trims can be done.
You measure the roof and fix the membrane on the measured roof and the extra part is trimming. After that trimming, you can remove the extra membrane from the roof.
EPDM Edge Trims
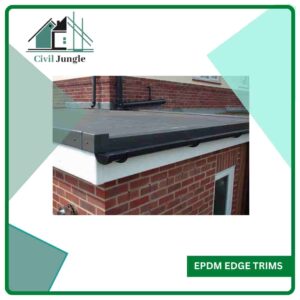
In EPDM roofing edges are totally and perfectly trimmed by flexible rubber. EPDM edge trims help the edges from wear and tear, it also resists it from ozone. Here, the edges will be curved types to do extra protection.
Epdm Drip Trims
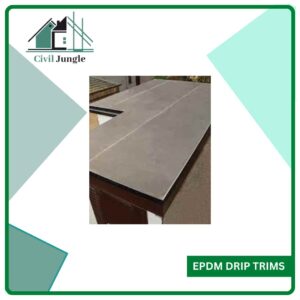
EPDM drip is a metallic or wooden bar that is fixed at the edges of the roof and the middle of the roof, At first, one series of bars is placed; then the rubber roofing is provided and finally second series of those bars is provided. Those bars are fixed with nails.
Epdm Flashing
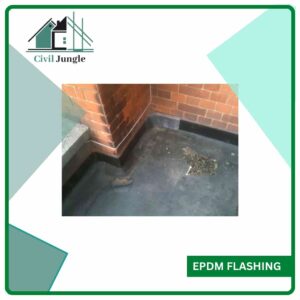
EPDM flashing is a rubber tape that is placed over the rubber roofing. It is installed to provide extra support and stability.
FAQ: EPDM Roofing
What Is Epdm Roofing?
EPDM (Ethylene Propylene Diene Monomer) roofing is a type of synthetic rubber roofing material commonly used for flat or low-slope roofs. It is known for its durability, flexibility, and resistance to various environmental factors.
What Are the Benefits of Epdm Roofing?
EPDM roofing offers several benefits, including:
- Durability: It can last 25-30 years with proper maintenance.
- Flexibility: Adapts well to temperature changes and movement.
- Weather Resistance: Resistant to UV radiation, extreme temperatures, and weather conditions such as hail and wind.
- Cost-Effectiveness: Generally, it has a lower installation cost compared to other roofing materials.
How Is Epdm Roofing Installed?
EPDM roofing is installed using large sheets that are either fully adhered with adhesive, mechanically fastened, or ballasted with gravel. The installation process involves preparing the roof deck, applying adhesives, and sealing the edges and seams.
What Is the Average Cost of Epdm Roofing?
The cost of EPDM roofing typically ranges from $6.50 to $12.50 per square foot, depending on factors such as the complexity of the installation, the number of layers, and the local labor rates. For a 1500 square foot roof, the total cost can range from $9,750 to $18,750.
How Long Does Epdm Roofing Last?
EPDM roofing is designed to last between 25 and 30 years, depending on factors such as installation quality, maintenance, and exposure to environmental conditions.
Can Epdm Roofing Be Installed Over an Existing Roof?
Yes, EPDM roofing can be installed over existing roofing materials, but it may require additional preparation, such as covering the old roof with a new layer of OSB board or plywood.
What Maintenance Does Epdm Roofing Require?
EPDM roofing is relatively low-maintenance. Regular inspections for damage, debris removal, and checking for issues with seams and flashing can help extend its lifespan.
How Can I Ensure Proper Installation of Epdm Roofing?
Proper installation involves cleaning the roof deck, applying adhesives correctly, ensuring proper fitting of the membrane, and sealing all edges and seams. Hiring an experienced contractor is crucial for a successful installation.
Are There Different Types of Epdm Membranes?
Yes, EPDM membranes come in different colors (black and white), lengths (from 7.5 feet to 50 feet), and thicknesses (typically 45 mm and 60 mm).
What Should I Do If My Epdm Roof Develops a Problem?
If you notice issues such as leaks or damage, it is important to address them promptly. Minor repairs can be done with EPDM patch kits, but for major issues, consulting a professional roofing contractor is recommended.