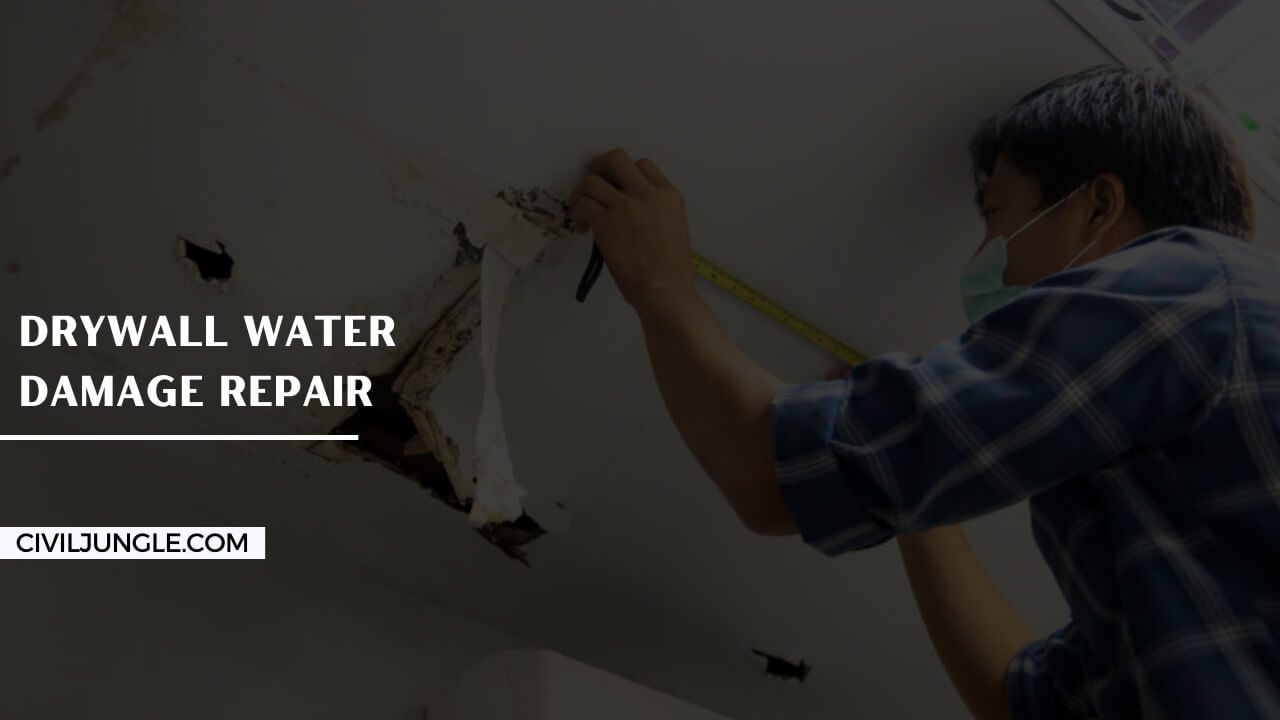
Drywall Water Damage Repair
What is drywall? A question often asked by many people. So before knowing how to fix damaged drywall by yourself you must have a brief idea about the structure, composition, and nature of drywall.
A drywall is nothing but a panel of calcium sulfate dihydrate commonly known as gypsum which is sandwiched between two different types of paper. The papers on the different sides are of different types.
The paper on the face is a light color and the paper on the back side is of dark color. Drywall was invented in the country of America in 1916.
A company named United States Gypsum Corporation came up with a non-burning, non-wrapping wall covering product named ‘sheetrock’. In those days, making plaster walls were so costlier that very few people could afford that.
The ‘sheetrock’ was a perfect alternative to plaster walls and it was cheap, so cheap that it was often billed as ‘the poor man’s answer to plaster walls’.
By the end of the 1950s, drywall had become the most preferred and sought-after standard material used for construction.
The drywall is usually made ½ inch thick for interior walls. In the ceiling, the same thickness as mentioned is followed but if the design needs more rigidity then the thickness will be more.
For arcs and curves, the thickness used is ¼ inch. Many home centers collect small pieces of drywall and some centers also cut smaller pieces according to the needs of the price but the general size of sheets is 4’×6′.
Drywall can be damaged in many ways. The damage can happen because of a leaky roof, or if in any other way the drywall surface stays in touch with water for a long duration.
Repairing drywall is like a mess if you have not done it before. After all the walls and ceilings are meant to be sturdy and solid, ripping a slot in it is more complicated than you imagine.
The repairing process needs some prep work and it could be a bit of a mess but if the repairing is done patiently and carefully, the damage will be fixed in a few days.
The gypsum drywall is spongy and easily soluble in water. So if the drywall gets wet it could become a mess. The wet drywall will absorb more water with time like a sponge and the wall or ceiling will become heavier.
For growing heavier the wall will pull off from nails or screws that hold the drywall in place. If this happens it can be fixed easily.
Where the wall gets wet, and before drying out begins to sag, to fix it push the place gently and place it back into the old shape. Apply some new screws or nails for securing. Paint it over with stain-killing paint and it will be as good as new.
If the drywall becomes smushy and soft like a sponge then most probably the gypsum will deteriorate and the paper will separate from the gypsum layer when the area dries.
In that case, the previous method will not work. As soon as possible, cut the damaged sections out and start repairing the wall. In the case of ceiling drywall damage, if the wall is damaged it may be wet as well as saggy.
The reason for the sagging of the wall is possibly the water ponding at that place. To drain the water out in a controlled way take a nail and a bucket.
Poke a hole through the saggy place and put the bucket under the hole. The water will be collected in the bucket.
Wet drywall can attract mold. It absorbs water like a sponge and the paper surface soaked with water is the perfect place for mold to build a colony.
So water-damaged drywall needs to be repaired as soon as possible. Dry the area thoroughly before beginning repairing and patching.
Also Read, All About Driveways | What Are Driveways | Types of Driveways
How to Repair Water-Damaged Drywall
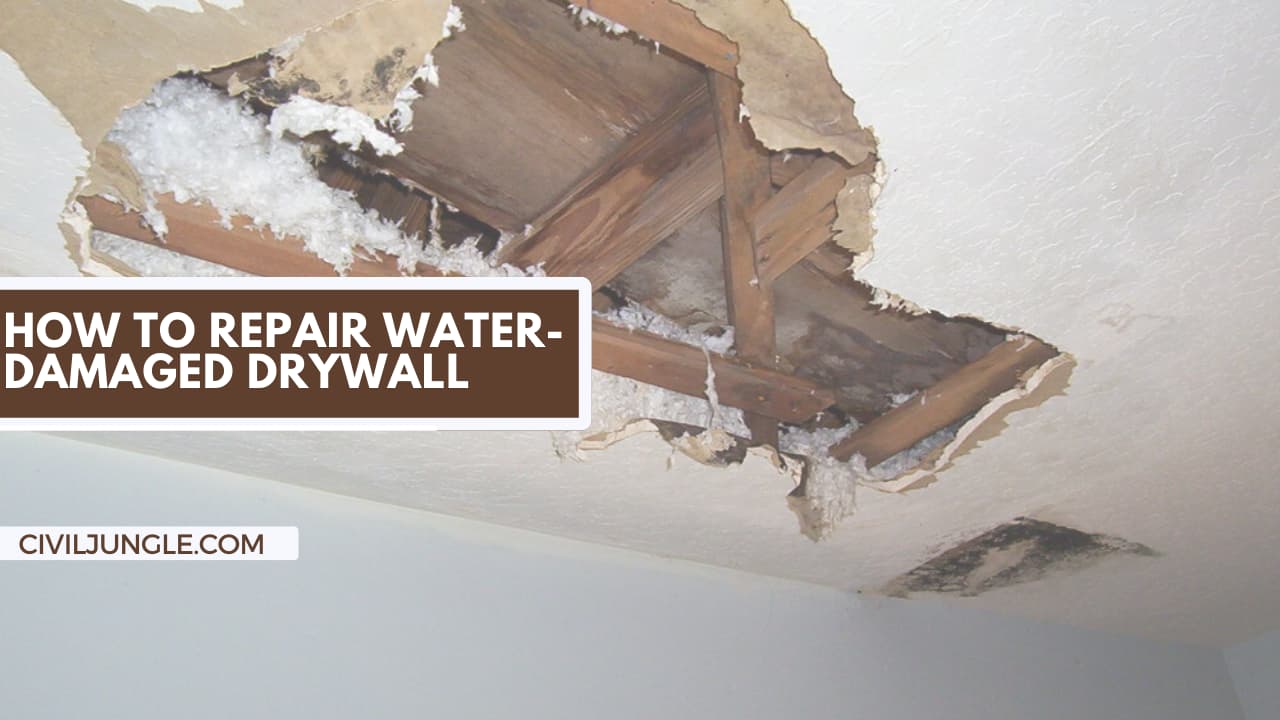
First, Mark the damaged area in a rectangular or square shape. You can also mark the area in a circular shape but marking the area in a rectangular or square shape is advised.
Because you will need to cut the drywall in that same shape and size and cutting the drywall in square and rectangular shapes is easier than cutting it into circular shapes.
This may expand the space that is required to be replaced but it also brings in the taping and mudding work susceptible to blending in with the rest of the area.
In the case of ceilings, putters that are less than 12 Square inches, and drywall clips can be used to hold them.
If the space is larger than that then it must be attached to the ceiling rafters. Doing this will hold the weight of the patches and any insulation above them.
To cut the drywall out that you need to repair, use a drywall or keyhole saw.
While cutting the patches be extra careful with electric wires and plumbing. Take proper time and caution.
After removing the damaged part of the drywall, estimate the size of the damaged drywall piece and cut the new drywall sheet according to that size.
Around the hole which is to be replaced, place four drywall clips. Use a drywall screw to secure each clip in its place.
Make sure that each screw head is countersunk. It is advised not to overdrive the screws.
Cut the patch out and put it in the place. Secure the patch with ceiling joists and drywall clips. Use drywall screws for doing this job. Do not overtighten the screws.
In the case of replacing a large part of damaged drywall, take proper measurements and cut any openings for outlets out. This needs to be done before attaching the panels to the walls.
If you are planning big repairs to drywall, keep in mind that the drywall comes in two different types of edges, butt edge, and bound edge.
The long edge or bound edge is thinner than the rest of the sheet. The butt edges have the same thickness at both ends of the sheets.
It is advised not to join butt edges to bound edges. Keep in mind while repairing the drywall that wall studs are vertically placed.
Drywall is normally attached in a way so that the longer side stays perpendicular to the studs. Doing this reinforces the strength of the wall.
With mesh tape or with paper tape, tape it over. Mesh tape is self-adhesive so it may seem more conveyable but many professionals who install drywall prefer paper tape.
Nonetheless, using paper tape is always not convenient. It requires some practice.
Apply the first coating of mud or the joint compound. This mudding is done to cover the joint.
The mud blend can be used to repair the rest of the wall. From the edge of the repair, spread the mud blend 5 to 6 inches.
It should be kept untouched for a minimum of 12 hours to 24 hours for drying. After the first coat dries, sand off the ridges with sandpaper.
Before applying the second coat, wipe off any remaining dust from the surface. Apply the second coat. Let it be kept untouched until it dries.
Sand this second coat surface also with sandpaper.
Before painting, apply primer to the surface. The primer will stop the compound from absorbing any moisture. Paint the area and the wall is repaired.
Also Read, 13 Types of Houses With Pictures And Advantages and Disadvantages
Drywall Water Damage Repair Cost
Repairing water damages in drywall ceilings and walls costs $200 to $500 for minor damage or $500 to $2,500 for major damage with roof leak repair. Fixing water damage typically requires other repairs before replacing the drywall: The cost to fix a leak is $150 to $850 on average, depending on the leak’s location.
Cost to Repair Drywall Ceiling Water Damage
Repairing water damages in drywall ceilings and walls costs $200 to $500 for minor damage or $500 to $2,500 for major damage with roof leak repair. Fixing water damage typically requires other repairs before replacing the drywall: The cost to fix a leak is $150 to $850 on average, depending on the leak’s location.
Flood Cut Drywall Repair Cost
Flood cut drywall repair costs an average of $400 to $800. Flood cut is a type of remediation used after a home has become water damaged. For this type of repair, the contractor removes the sheetrock approximately two feet above the waterline of the flood.
Cost to Replace Water Damaged Drywall
Drywall ceiling repair costs $150 to $400 on average, including labor and materials to fix holes or cracks.
Drywall ceiling repair cost.
| Repair | Average cost |
|---|---|
| Water damage (minor) | $200 – $500 |
| Water damage & leak repair (major) | $500 – $2,500 |
| Sagging ceiling | $250 – $1,000 |
| Ceiling replacement | $400 – $1,000 |
Water Damage Wall Repair Cost
Water damage repair costs between $3.75 and $7 per square foot on average. The cost largely depends on the type of water, the extent of the damage, and the root cause. Clean water damage tends to be on the lower end, near $3.75 per square foot.
Like this post? Share it with your friends!
Suggested Read –